| ID |
Date |
Author |
Category |
Type |
Module |
Target/Number |
Subject |
|
2217
|
Tuesday, May 25, 2021, 15:59 |
Matthew Gareau | North Hot-Cell | Development | | | Removed boot from left hot manipulator |
Myself and Isaac removed the boot from the left hot manipulator.
- opened the hatch in the TH to get access to the top of the boot
- released the latch on the boot and loosened the boot from above
- closed TH hatch
- with the right manipulator we were able to detach the rest of boot
This test proved that we can remove a boot from the manipulator without having to enter into the hotcell.
Due to the physical restraints that the boot causes for the operator, we have decided to not reattach the boot with its current design.
A new design will be investigated to allow the boot to be fixed without twisting, which is the source of the problems.
|
| Attachment 1: IMG_20210525_134723.jpg
|

|
| Attachment 2: IMG_20210525_134727.jpg
|

|
| Attachment 3: MicrosoftTeams-image.png
|

|
| Attachment 4: MicrosoftTeams-image_(4)1.png
|
1.png.png "MicrosoftTeams-image_(4)1.png")
|
| Attachment 5: IMG_20210525_141602.jpg
|

|
| Attachment 6: IMG_20210525_141851.jpg
|

|
| Attachment 7: IMG_20210525_142144.jpg
|

|
|
2230
|
Wednesday, June 30, 2021, 14:11 |
Matthew Gareau | North Hot-Cell | Standard Operation | | | North Hot Cell Commemorative Opening |
Yesterday a bottle of Cava (sparkling wine) was place, opened, and poured in the NHC, to commemorate its new operational status.
The NHC is now a functional hot cell and is ready for many years of target exchanges to come. |
|
2329
|
Thursday, June 09, 2022, 09:47 |
Matthew Gareau | South Hot-Cell | Repair | TM2 | SiC#42 | containment box repair, Einzle lens, multi pin |
On June 2 2022, while attempting to install target SiC#42 a gasket fell off the water line. I attempted to remove the target to have the gasket reattached, however the multi pin connector guide pin was loose and was preventing the target from being removed. During the attempt to remove the target it was noticed that an electrical cable in the back of the module had become loose and was dangling. The target was then secured to the module, and then the module was moved to the SHC to complete the job/repairs.
June 3 2022, containment box was removed, Einzle Lens cable reattached and tested, and the multi pin guide pin was retightened.
On June 6 2022, the containment box was damaged while lifting the containment box back onto the module.
The left rear corner of the box caught on the module and the corner weld snapped and folded the corner down about 90 degrees.
With help from Chad, we were able to restraighten the corner with a C-clamp, enabling the box to be reattached to the module.
However the 2 bolts that were on the corner that attach to the module were not able to be aligned and were not used.
The target was reattached to the module, and to save time was brought directly to ITW, skipping the conditioning station. |
|
2332
|
Tuesday, June 21, 2022, 15:36 |
Matthew Gareau | North Hot-Cell | Repair | TM2 | SiC#42, SiC#43 | multipin guide pin issues |
While removing the SiC#42 it became apparent that the multipin guide pin had become loose again and was not allowing the target to dismount from the module.
The multipin shoulder bolts were removed and then the multipin was able to be pried off.
However the NHC manipulator were not able to reach the guide pin to remove it, which would be required before the SiC#43 could be installed.
The target module was then moved to the SHC where the guide pin could be removed and the installation of SiC#43 took place, along with the transfer of the parasitic attachment onto the SiC#43.
This problem seems to suggest that the multipin could use some redesign to ensure smoother target exchanges. |
|
2368
|
Wednesday, September 28, 2022, 12:58 |
Matthew Gareau | North Hot-Cell | Repair | | | Chad repaired the right operator side manipulator |
On 26/Sept/2022
Chad disassembled the right operator side manipulator, and noticed that gears in the handle were quite tight especially when compared to the left operator side manipulator.
Once a dry grease was added, and the handle reassembled all seemed to be in working order.
There was noticeable wear on a shaft and Chad has suggested to order some spare parts for the wrist and handle. |
| Attachment 1: IMG_20220926_091024~2.jpg
|

|
| Attachment 2: IMG_20220926_091040.jpg
|

|
| Attachment 3: IMG_20220926_091047.jpg
|

|
| Attachment 4: IMG_20220926_091153.jpg
|

|
|
2369
|
Wednesday, September 28, 2022, 13:15 |
Matthew Gareau | North Hot-Cell | Maintenance | | | topped up the NHC window oil through the oil expansion tank |
Myself and Maico were able to top up the NHC window oil.
The oil was filled through the expansion tank
- the Nitrogen line closed and the Nitrogen pressure valve was disconnected to ensure that no oil would go in to them.
- the pressure relief valve was disconnected to act as an air bleed line while we filled the oil
- with a funnel we slowly added the oil until the oil level could be read, showing about half full
- about 1.5 liters of oil were added
- once filled the Nitrogen line was reattached and the pressure was returned to recommended level
- the remaining oil was returned the RH shop
Now the oil level will be monitored, which will help identify if there is any leak in the system. |
| Attachment 1: IMG_20220928_121000.jpg
|

|
| Attachment 2: IMG_20220928_124253.jpg
|

|
| Attachment 3: IMG_20220928_124258.jpg
|

|
|
2372
|
Monday, October 03, 2022, 14:58 |
Matthew Gareau | North Hot-Cell | Repair | TM4 | SiC#43 and C#4 | Loose multipin guide pin |
Today while I was removing the SiC#43 it was noticed that the multipin guide pin was loose.
This made it difficult to remove the target, and the multipin shoulder bolts removal was required.
With the loose pin it was not possible to attach the multipin for the target C#4.
Chad was able to tighten the multipin guide pin enough, however it became obvious that the pin could not be removed when it was attempted.
With the pin tightened, the target C#4 was installed and all checks were good.
It was recommend that once the C#4 target is removed the TM4 will need some repair to remove the multipin guide pin.
Chad - Also it was noted that the guide pin (ITA6453) in question showed signs of plating or heat (see pictures I've added) |
| Attachment 1: MicrosoftTeams-image.png
|

|
| Attachment 2: MicrosoftTeams-image_(1).png
|
.png.png "MicrosoftTeams-image_(1).png")
|
| Attachment 3: MicrosoftTeams-image_(2).png
|
.png.png "MicrosoftTeams-image_(2).png")
|
|
2214
|
Friday, April 30, 2021, 14:09 |
Luca Egoriti | ITE/ITW | Development | TM4 | | TM4 resistance measurements for P2N |
Friday, April 30, 2021, 14:06
Anders and Luca
Resistance measurements on each electrical feedthroughs (A,B,C,D,E,I,P,Q,R,U,60kV,ground) taken with no target or no short attached to the module. Results as expected:
P-Q = 6.439 mOhm
R-U = 6.019 mOhm
All other combinations = Open Loop |
|
620
|
Wednesday, March 12, 2014, 16:33 |
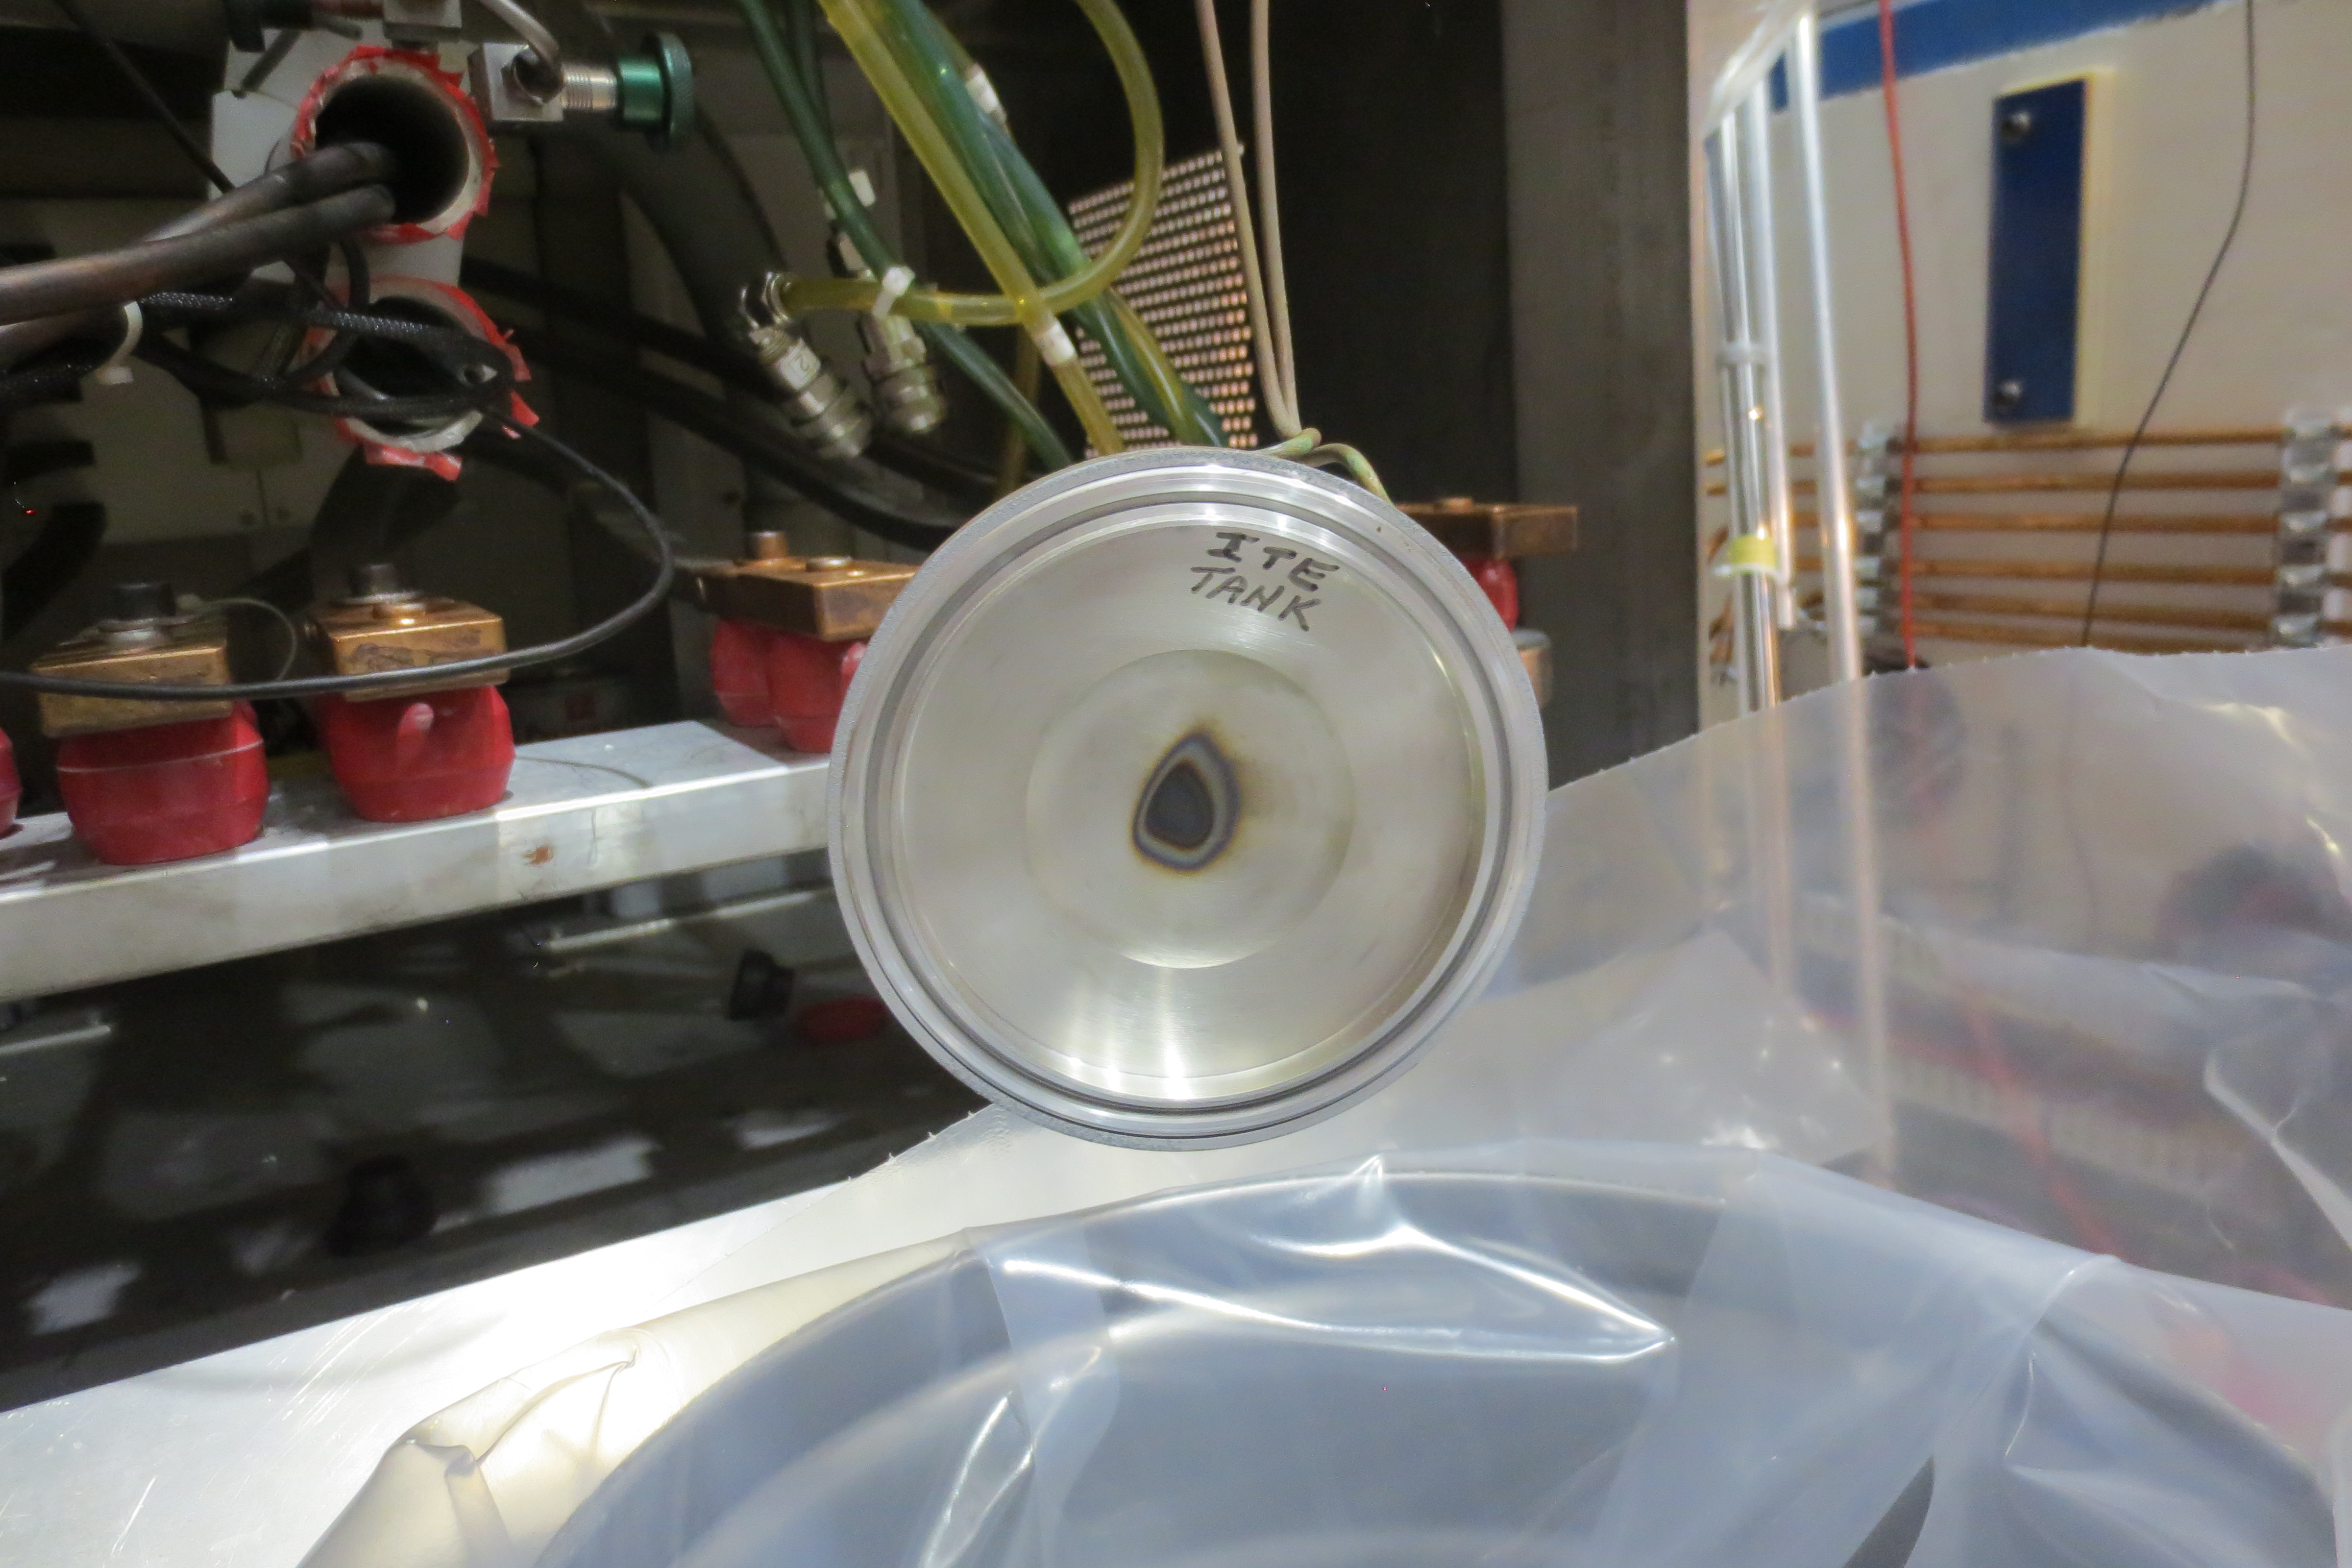
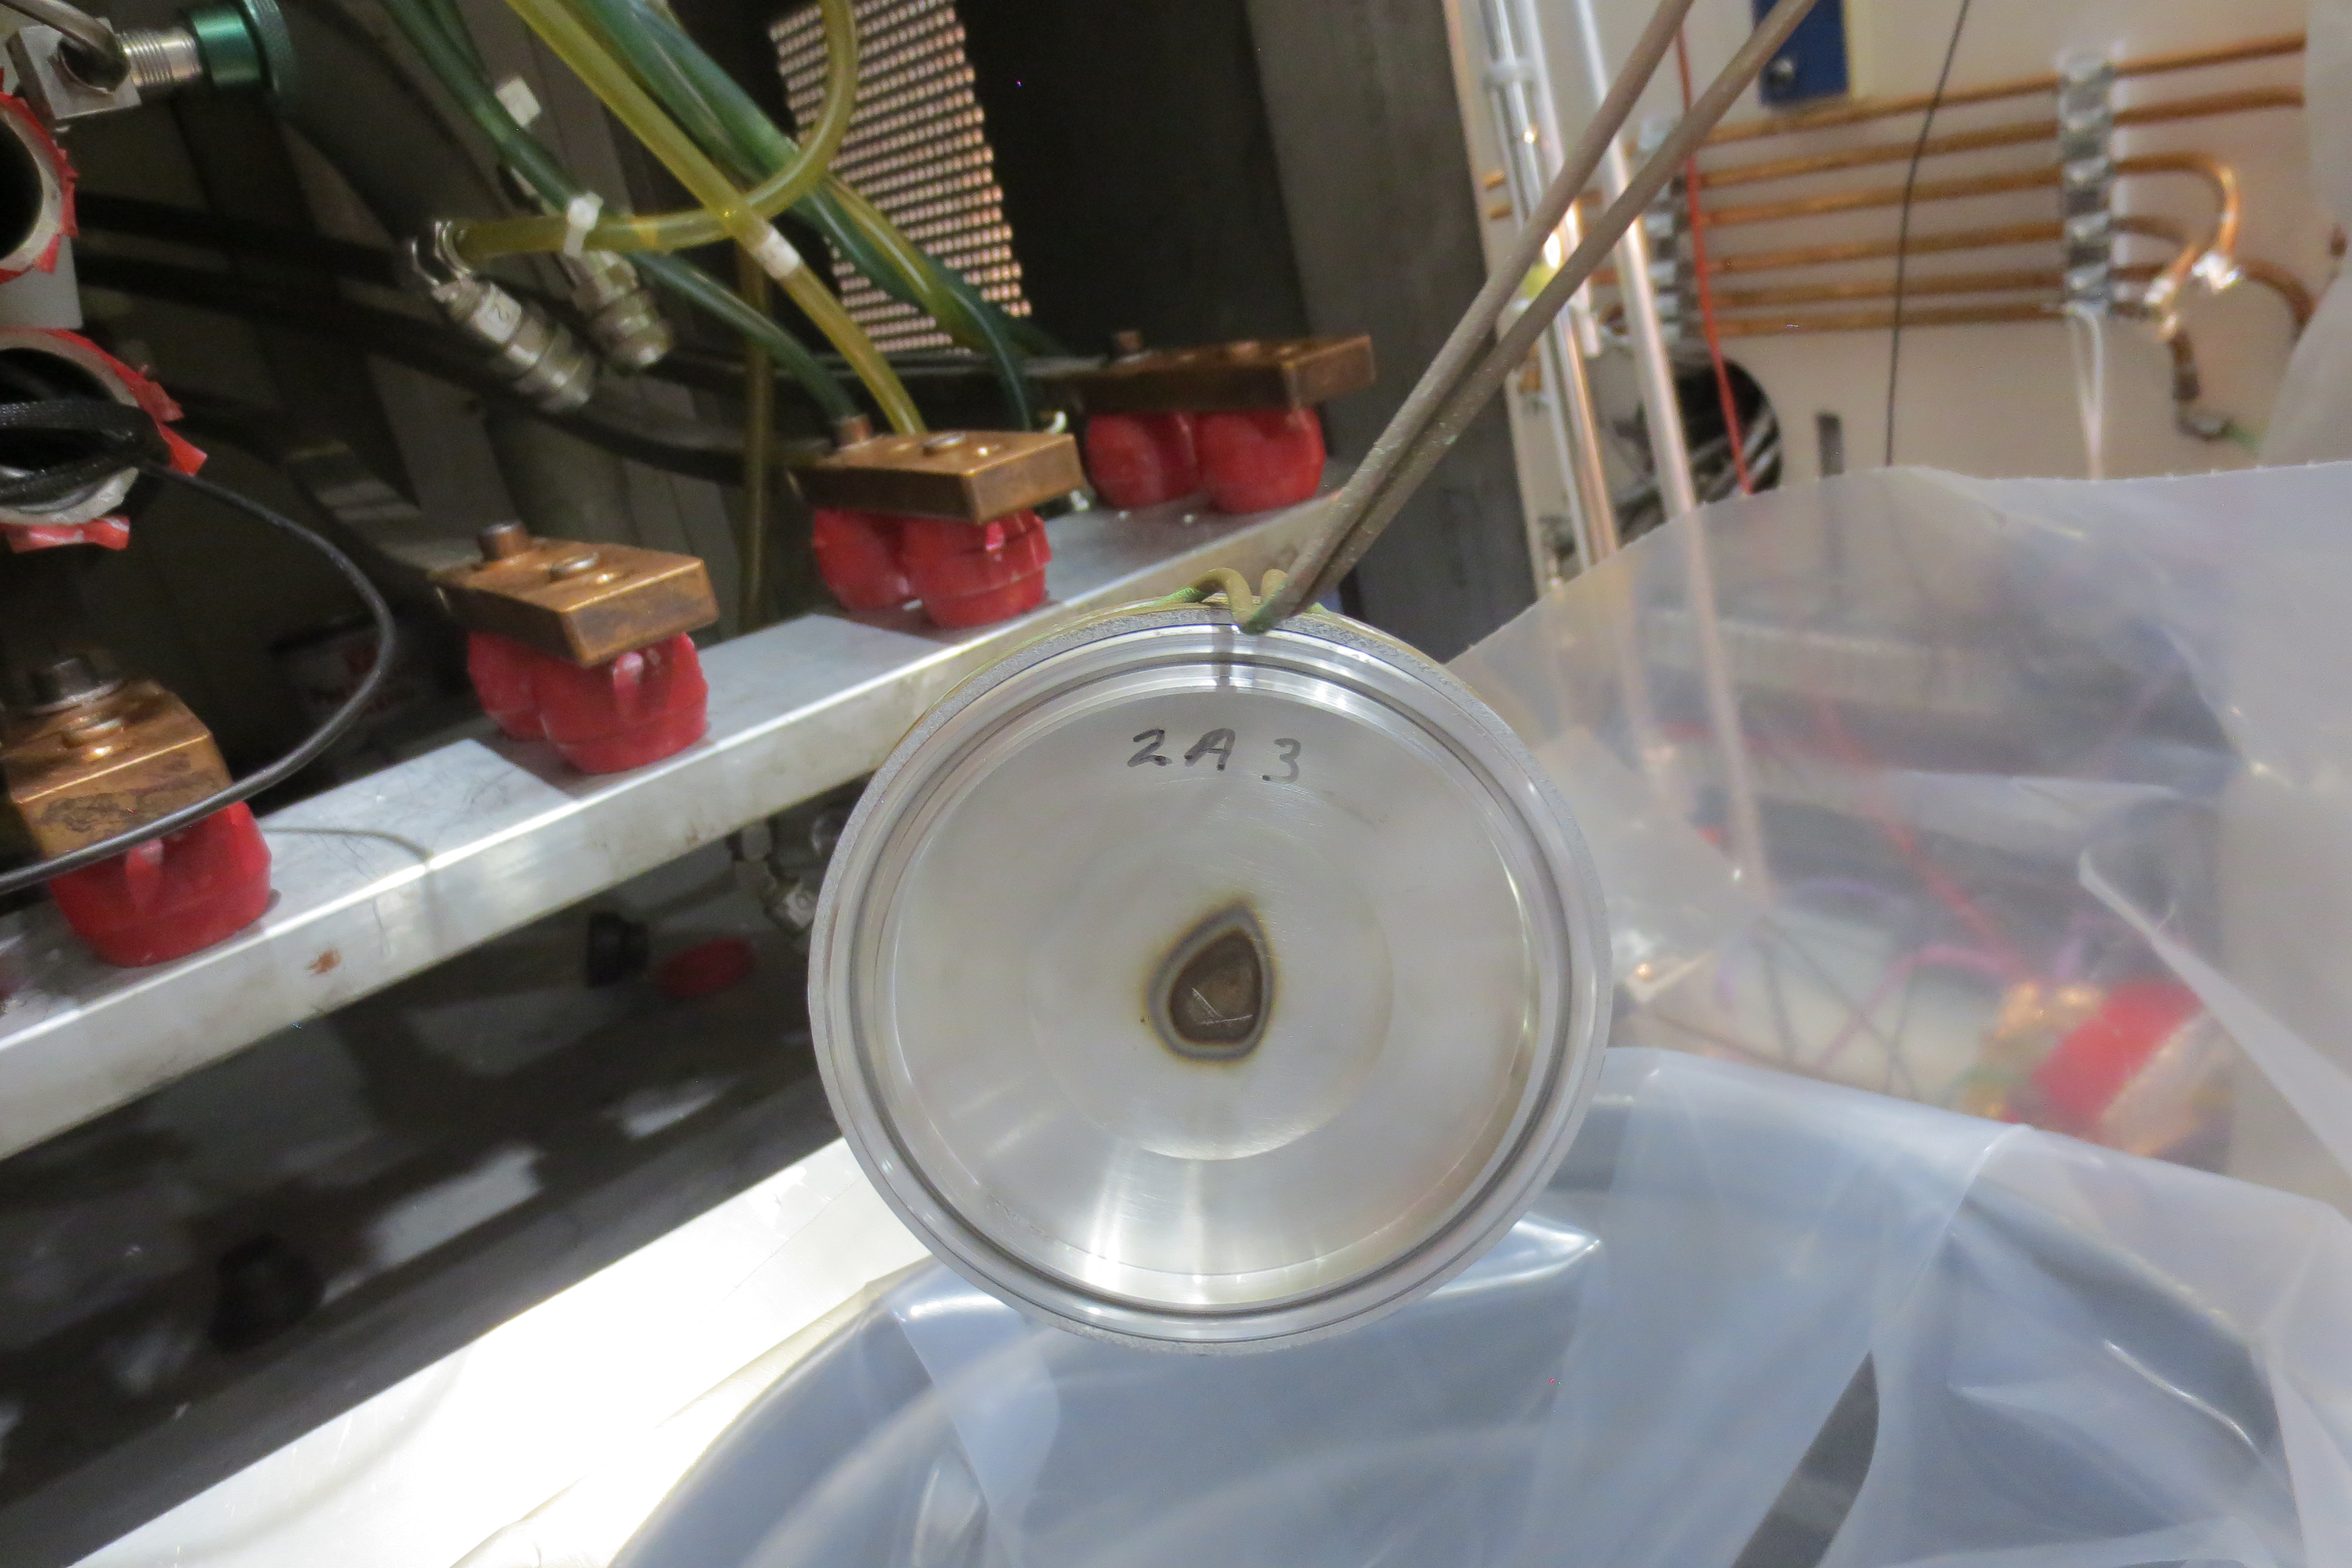
Keith C Ng | ITE | Repair | | | 2A3 window removal and replacement |
prep'ed area for work:
- removed shield plug from window clamp area
- inspected clamp from tunnel side and from top of target station: video recorder was not working, will try again tomorrow.
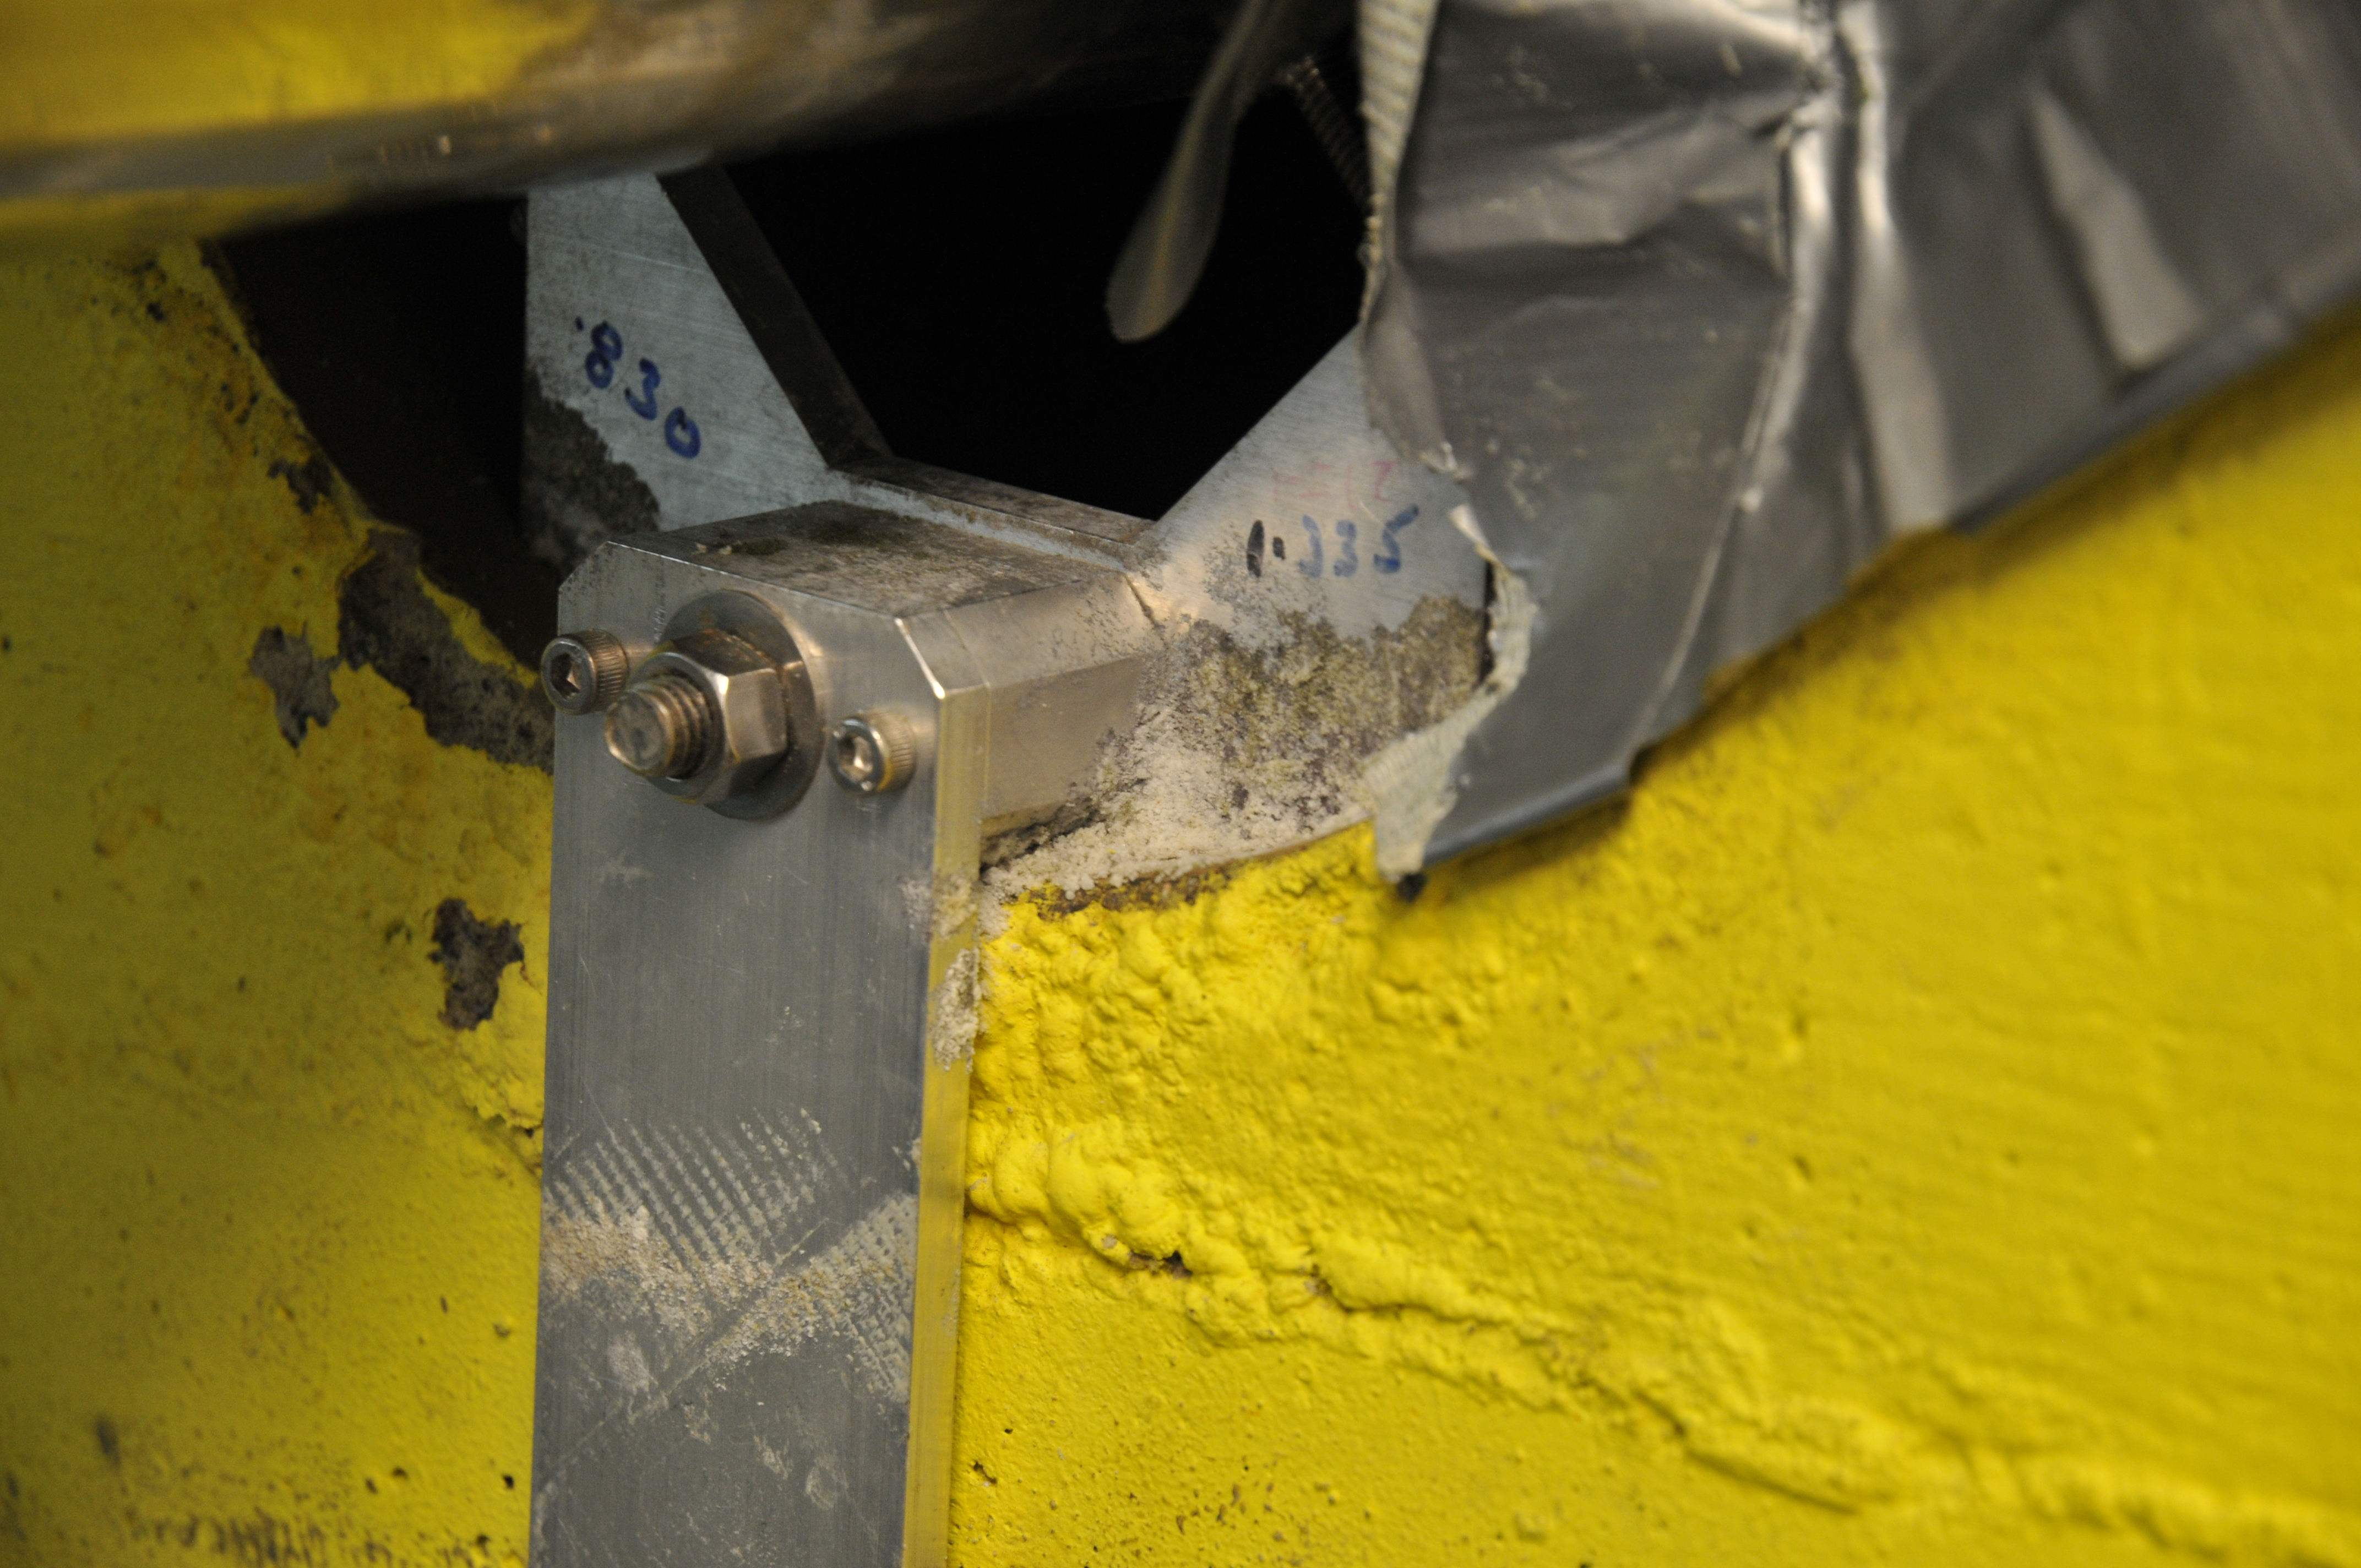
- corrosion seen on beam pipe cradles, see photos. corrosion also seen on beampipe, clamp and vacuum tank. will try to vaccuum loose rust tomorrow.
note: gamma spec of rust, white powder from RPG located in \\trwindata\groups\remote handling\Documents\2014\2A3 Window folder (added pdfs as attachments 2014 mar 4)
|
| Attachment 3: 2a_bp_sw1_white_powder_under_w11.PDF
|


|
| Attachment 4: 2a_bp_sw2_white_powder_under_w11.PDF
|


|
| Attachment 5: 2a_bp_sw3_rust_w11.PDF
|


|
|
622
|
Thursday, March 13, 2014, 16:23 |
Keith C Ng | ITE | Repair | | | 2a3 window - inspection |
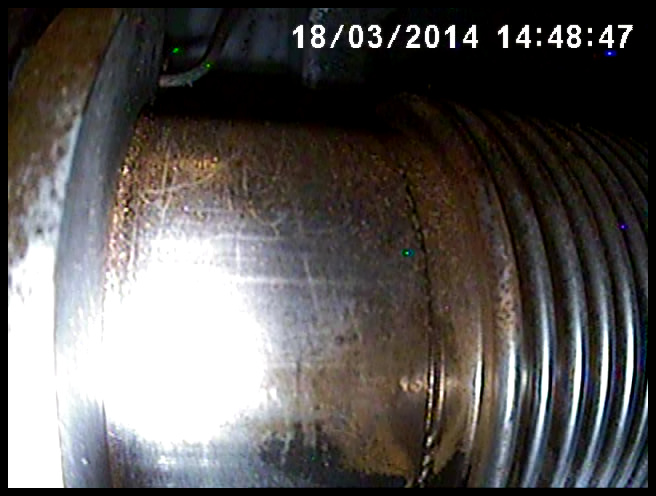
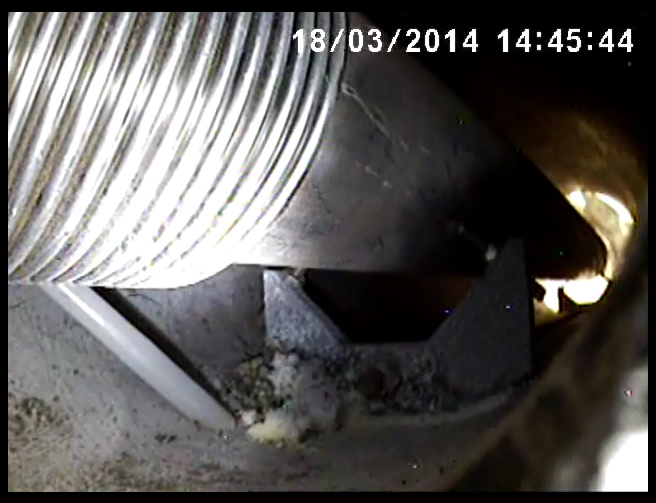
Video inspected 2a3 window joint this morning.
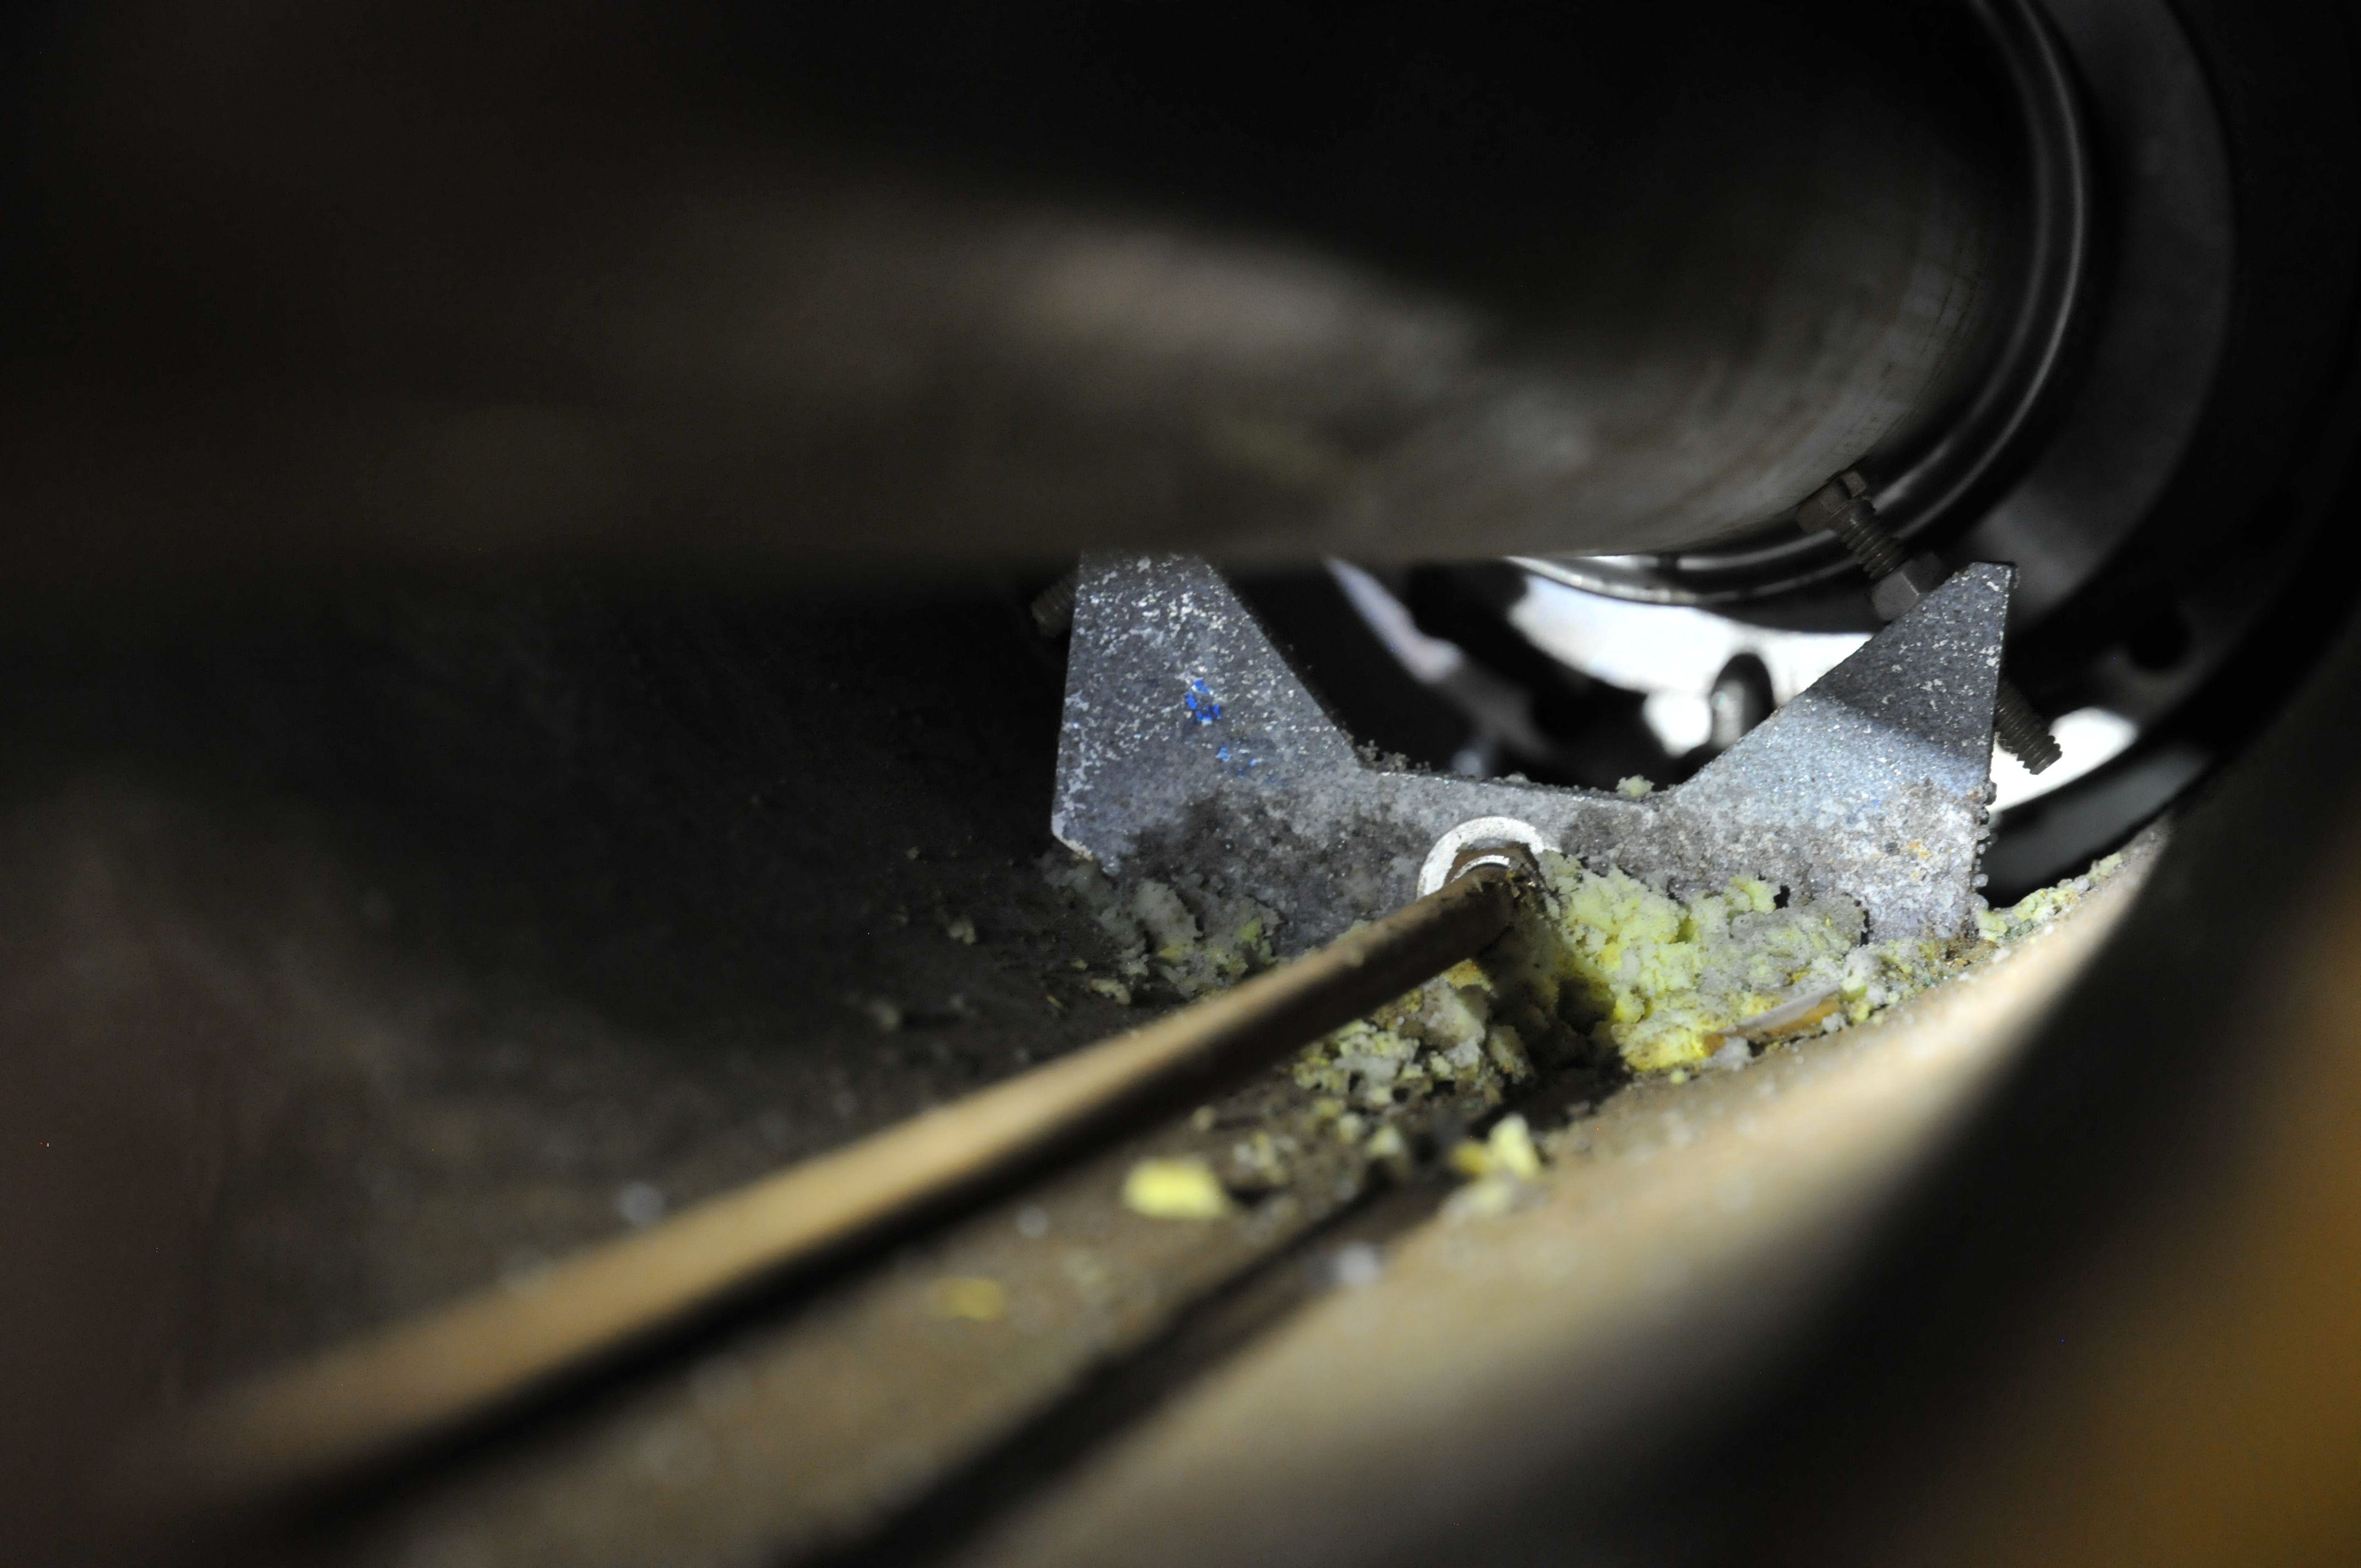
Screenshots from video showing debris forming around aluminum cradle and brown/red dust on top of beam pipe.
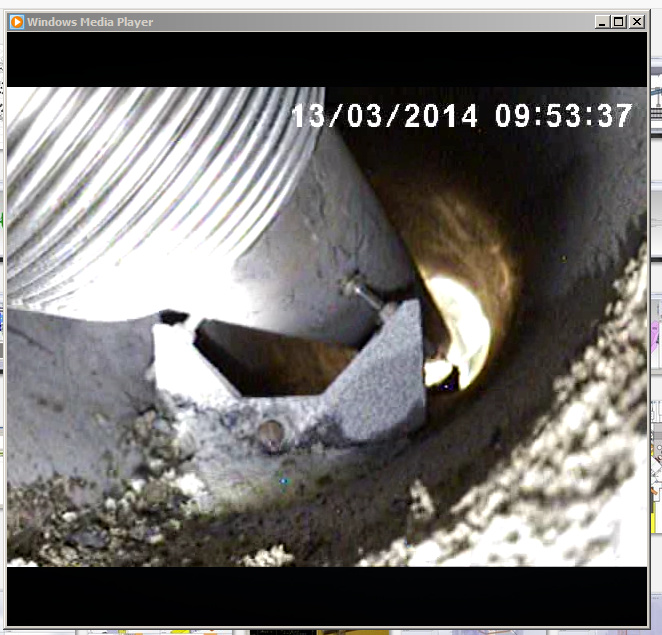 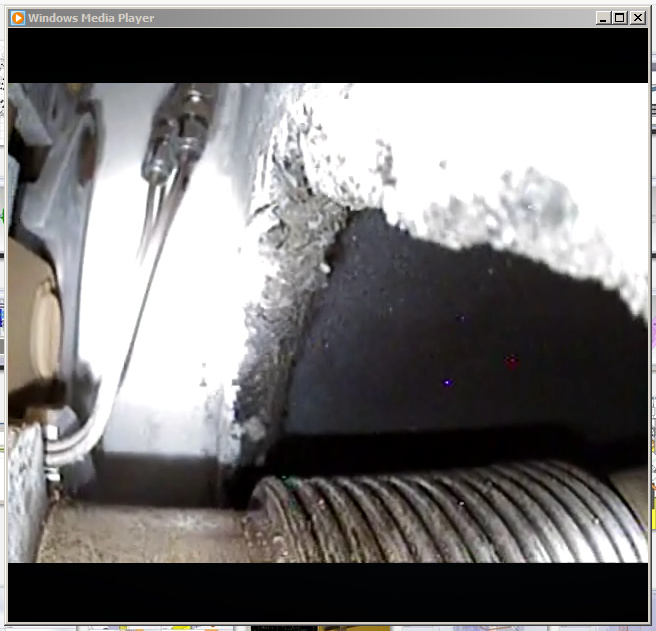
Inspection video can be seen in its entirety at \\trwindata\groups\remote handling\Videos\2014\2014_2A3window |
|
623
|
Monday, March 17, 2014, 15:39 |
Keith C Ng | ITE | Repair | | | 2a3 window - prep and clean |
Cleaned top of the ITE vacuum flange and top of window clamp. Attempted to clean the bellows/beam pipe through the wall, mostly dust and small particles. When cleaning bottom of the wall penetration we picked up a stone/fragment and the vacuum stopped. Appears to be a rock of some kind. 800cpm.
Videos on \\trwindata\groups\remote handling\Videos\2014\2014_2A3window folder, videos 3 and 4. |
|
624
|
Tuesday, March 18, 2014, 16:01 |
Keith C Ng | ITE | Repair | | | 2a3 window - prep and clean |
Continued with vacuuming inside wall penetration to remove debris. Changed filter bag in nilfisk vacuum, left old filter in place however vacuum continues to stall after >5min use. Vacuum gets quite warm before self shutting off. Debris seems to be falling back down on to joint if vacuum is turned off.
Took some screenshots of video showing removed debris and rust(?) on beam pipe. Video located on remote handling group folder.
Will attempt to remove clamp tomorrow.
|
|
626
|
Wednesday, March 19, 2014, 16:48 |
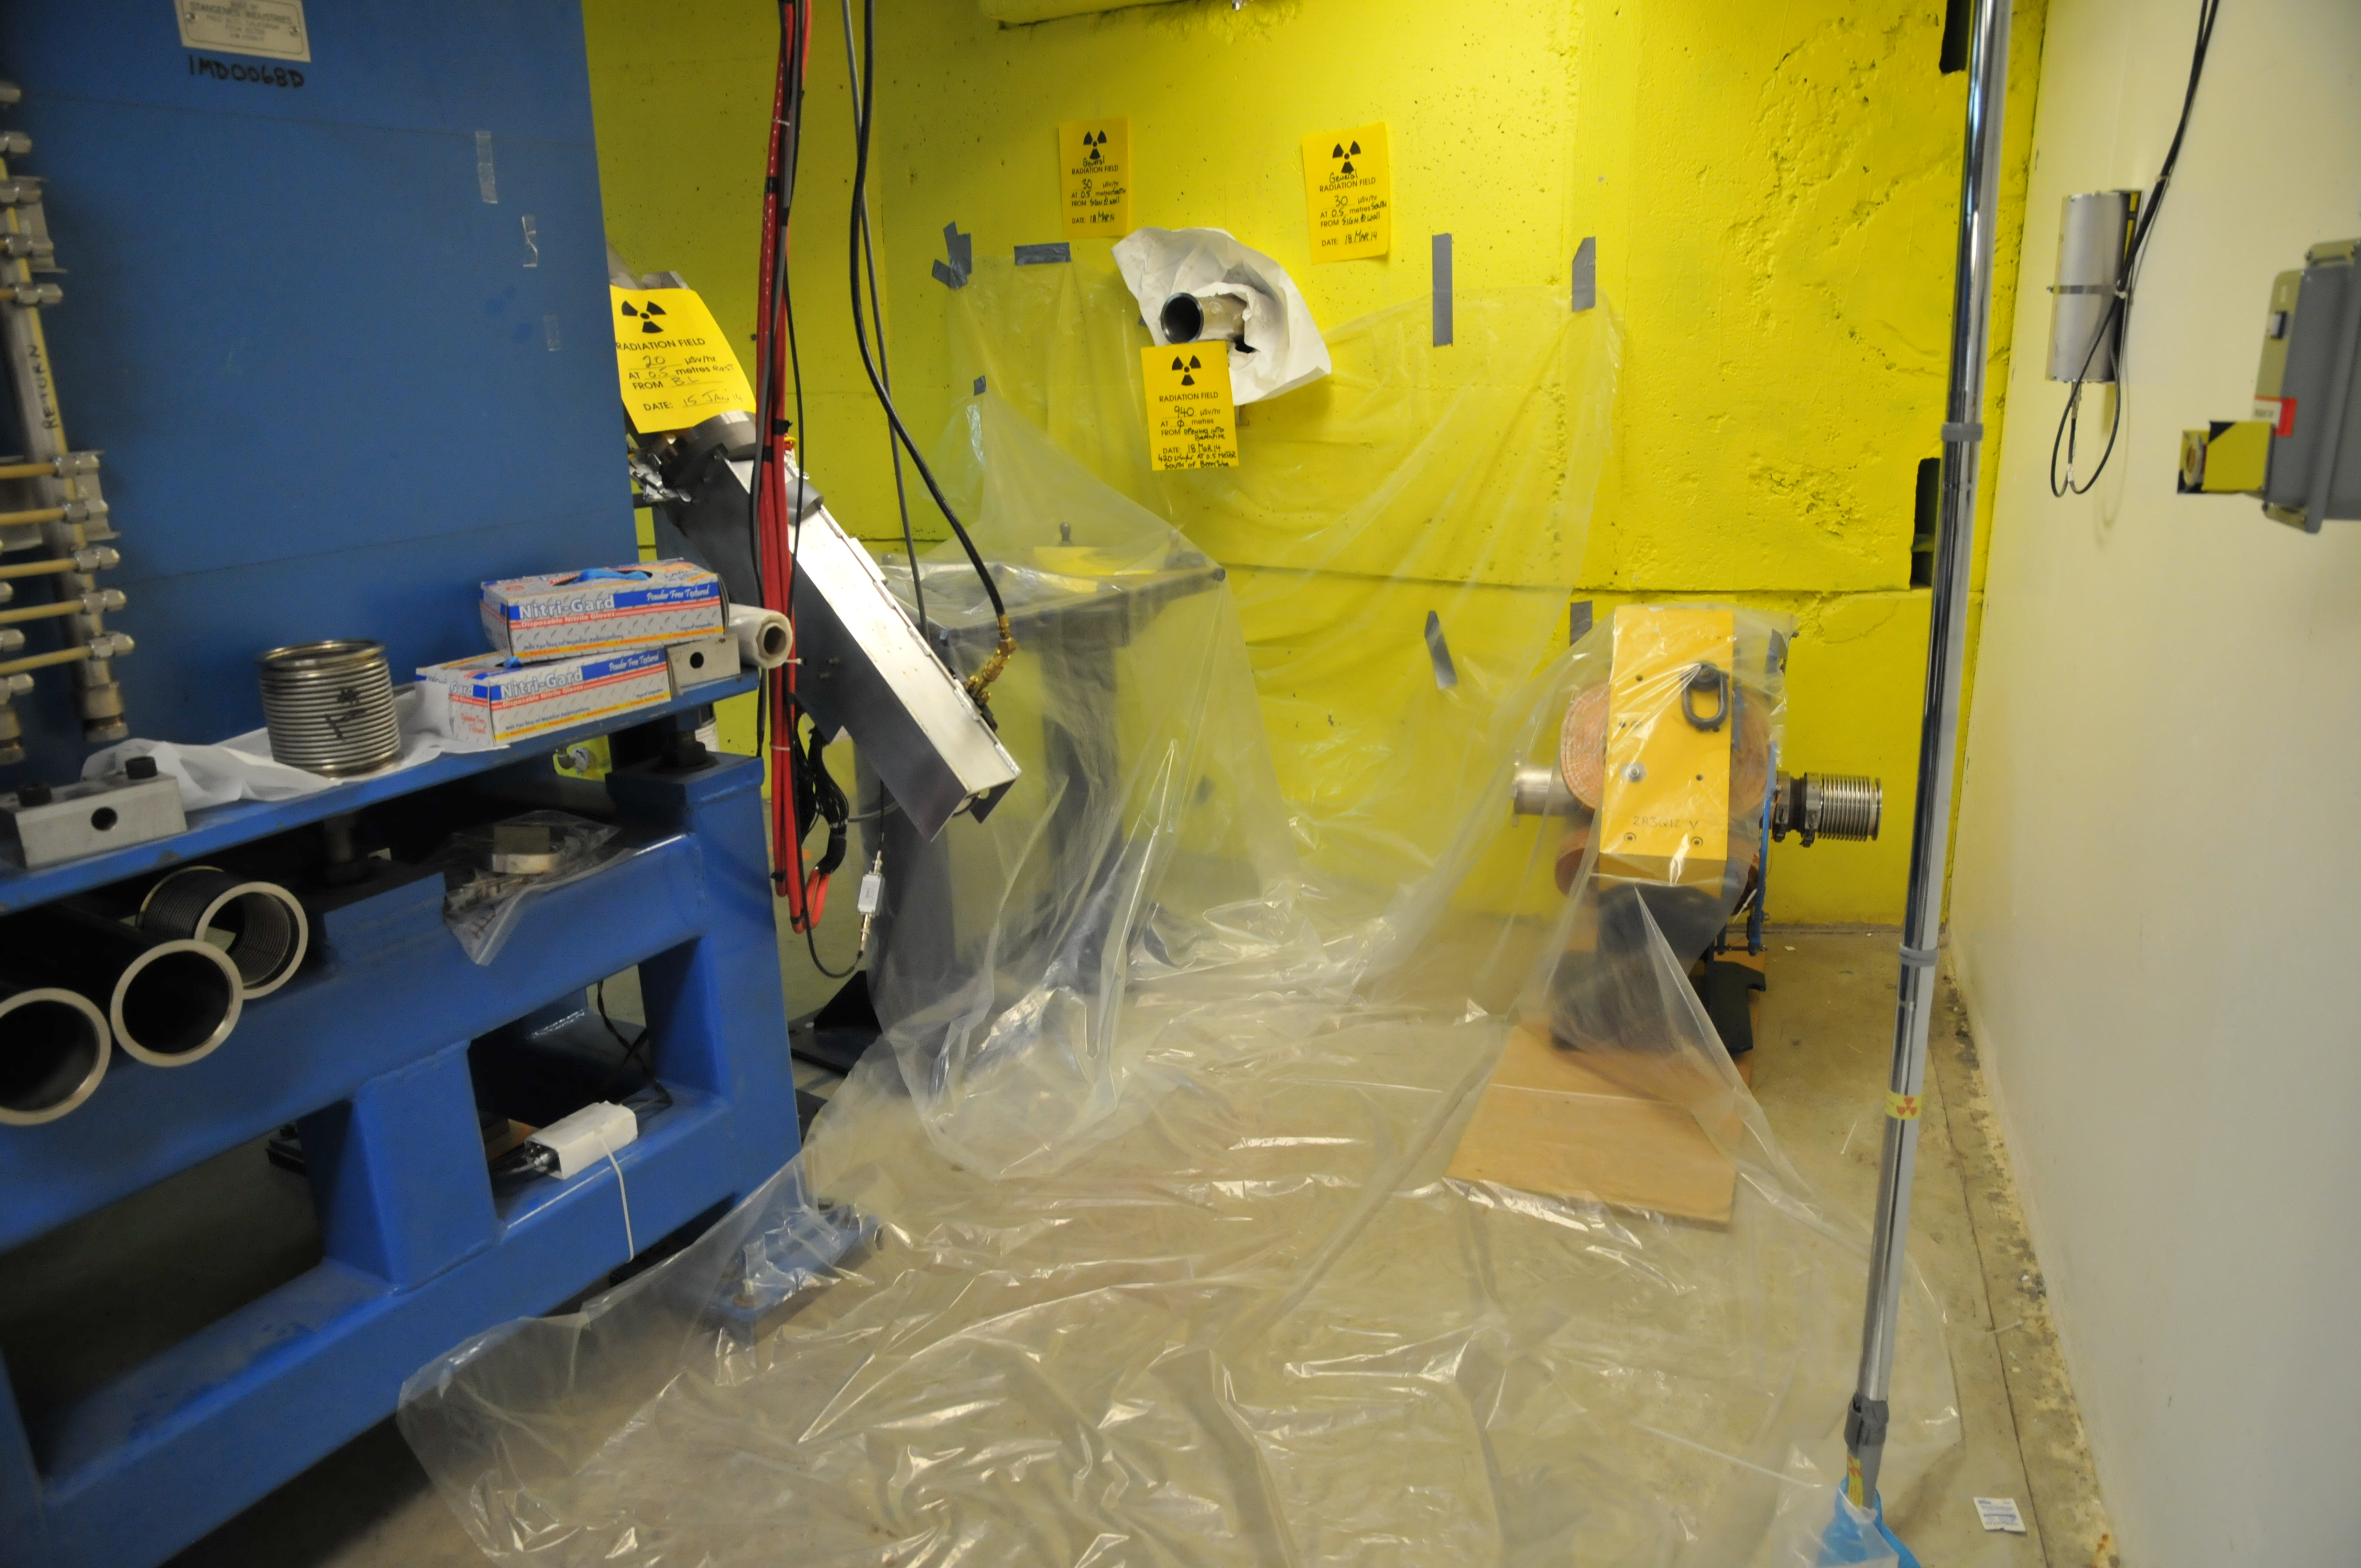
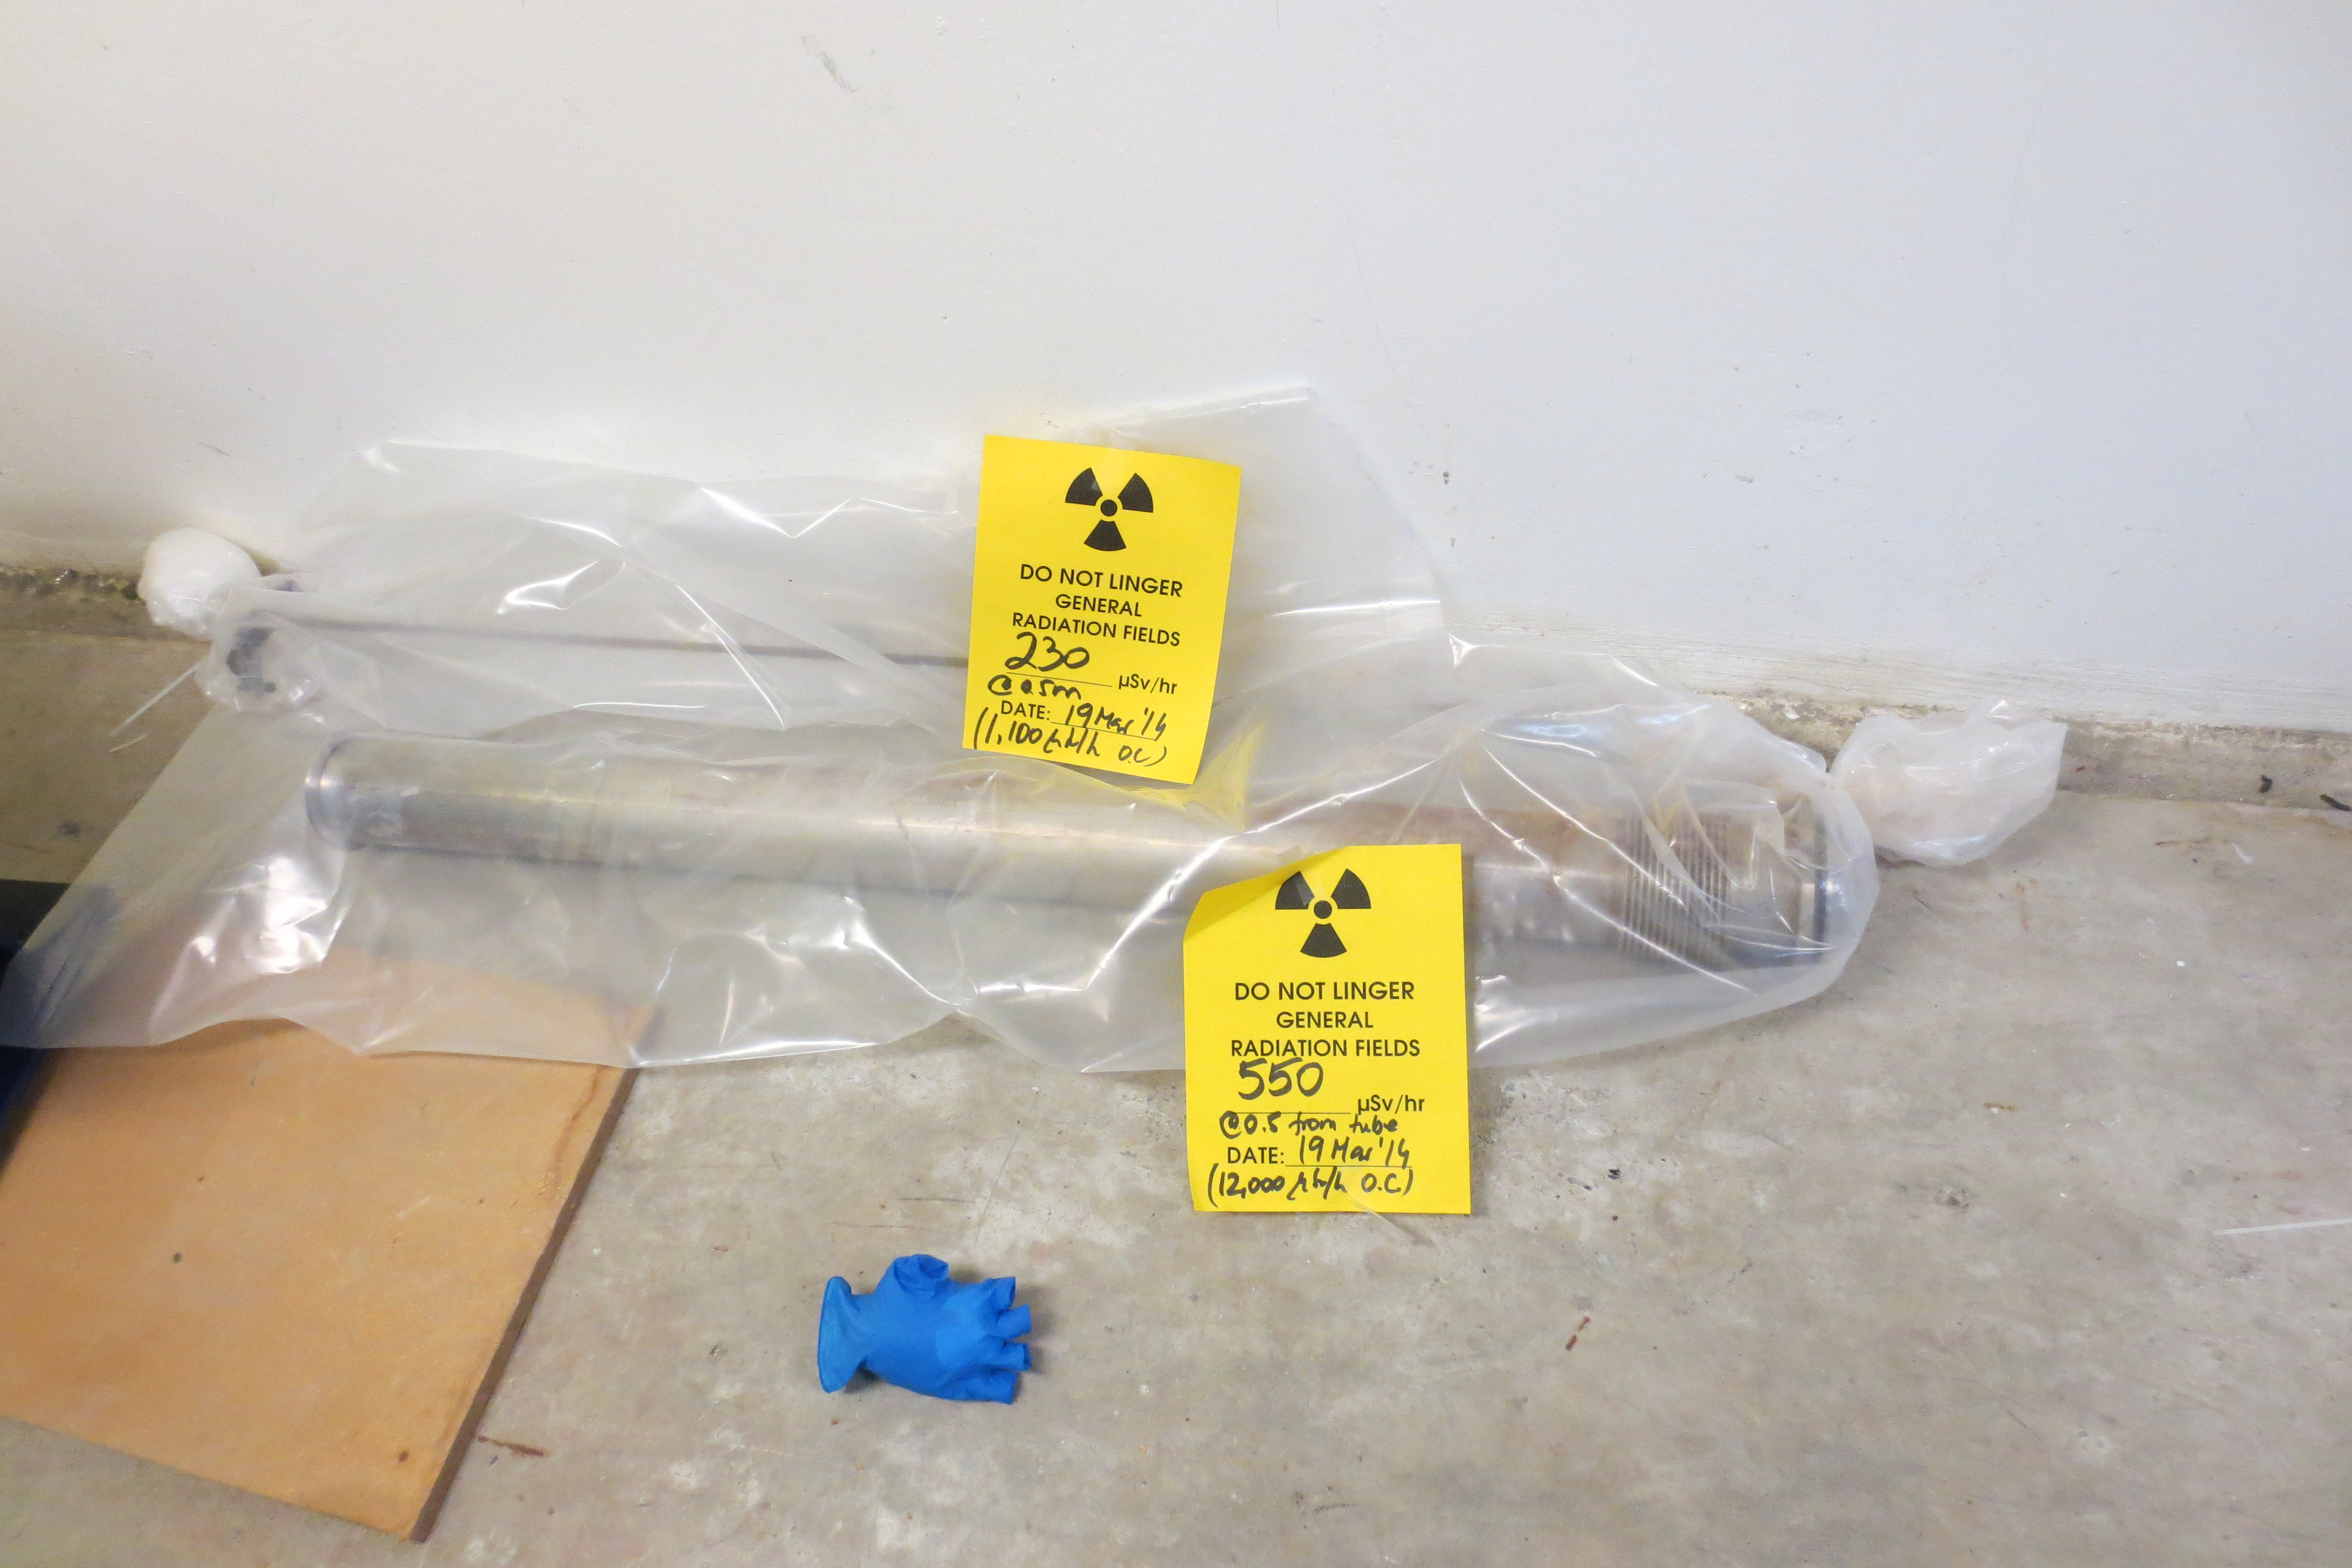
Keith C Ng | ITE | Repair | | | 2a3 window - beam tube removal |
Today:
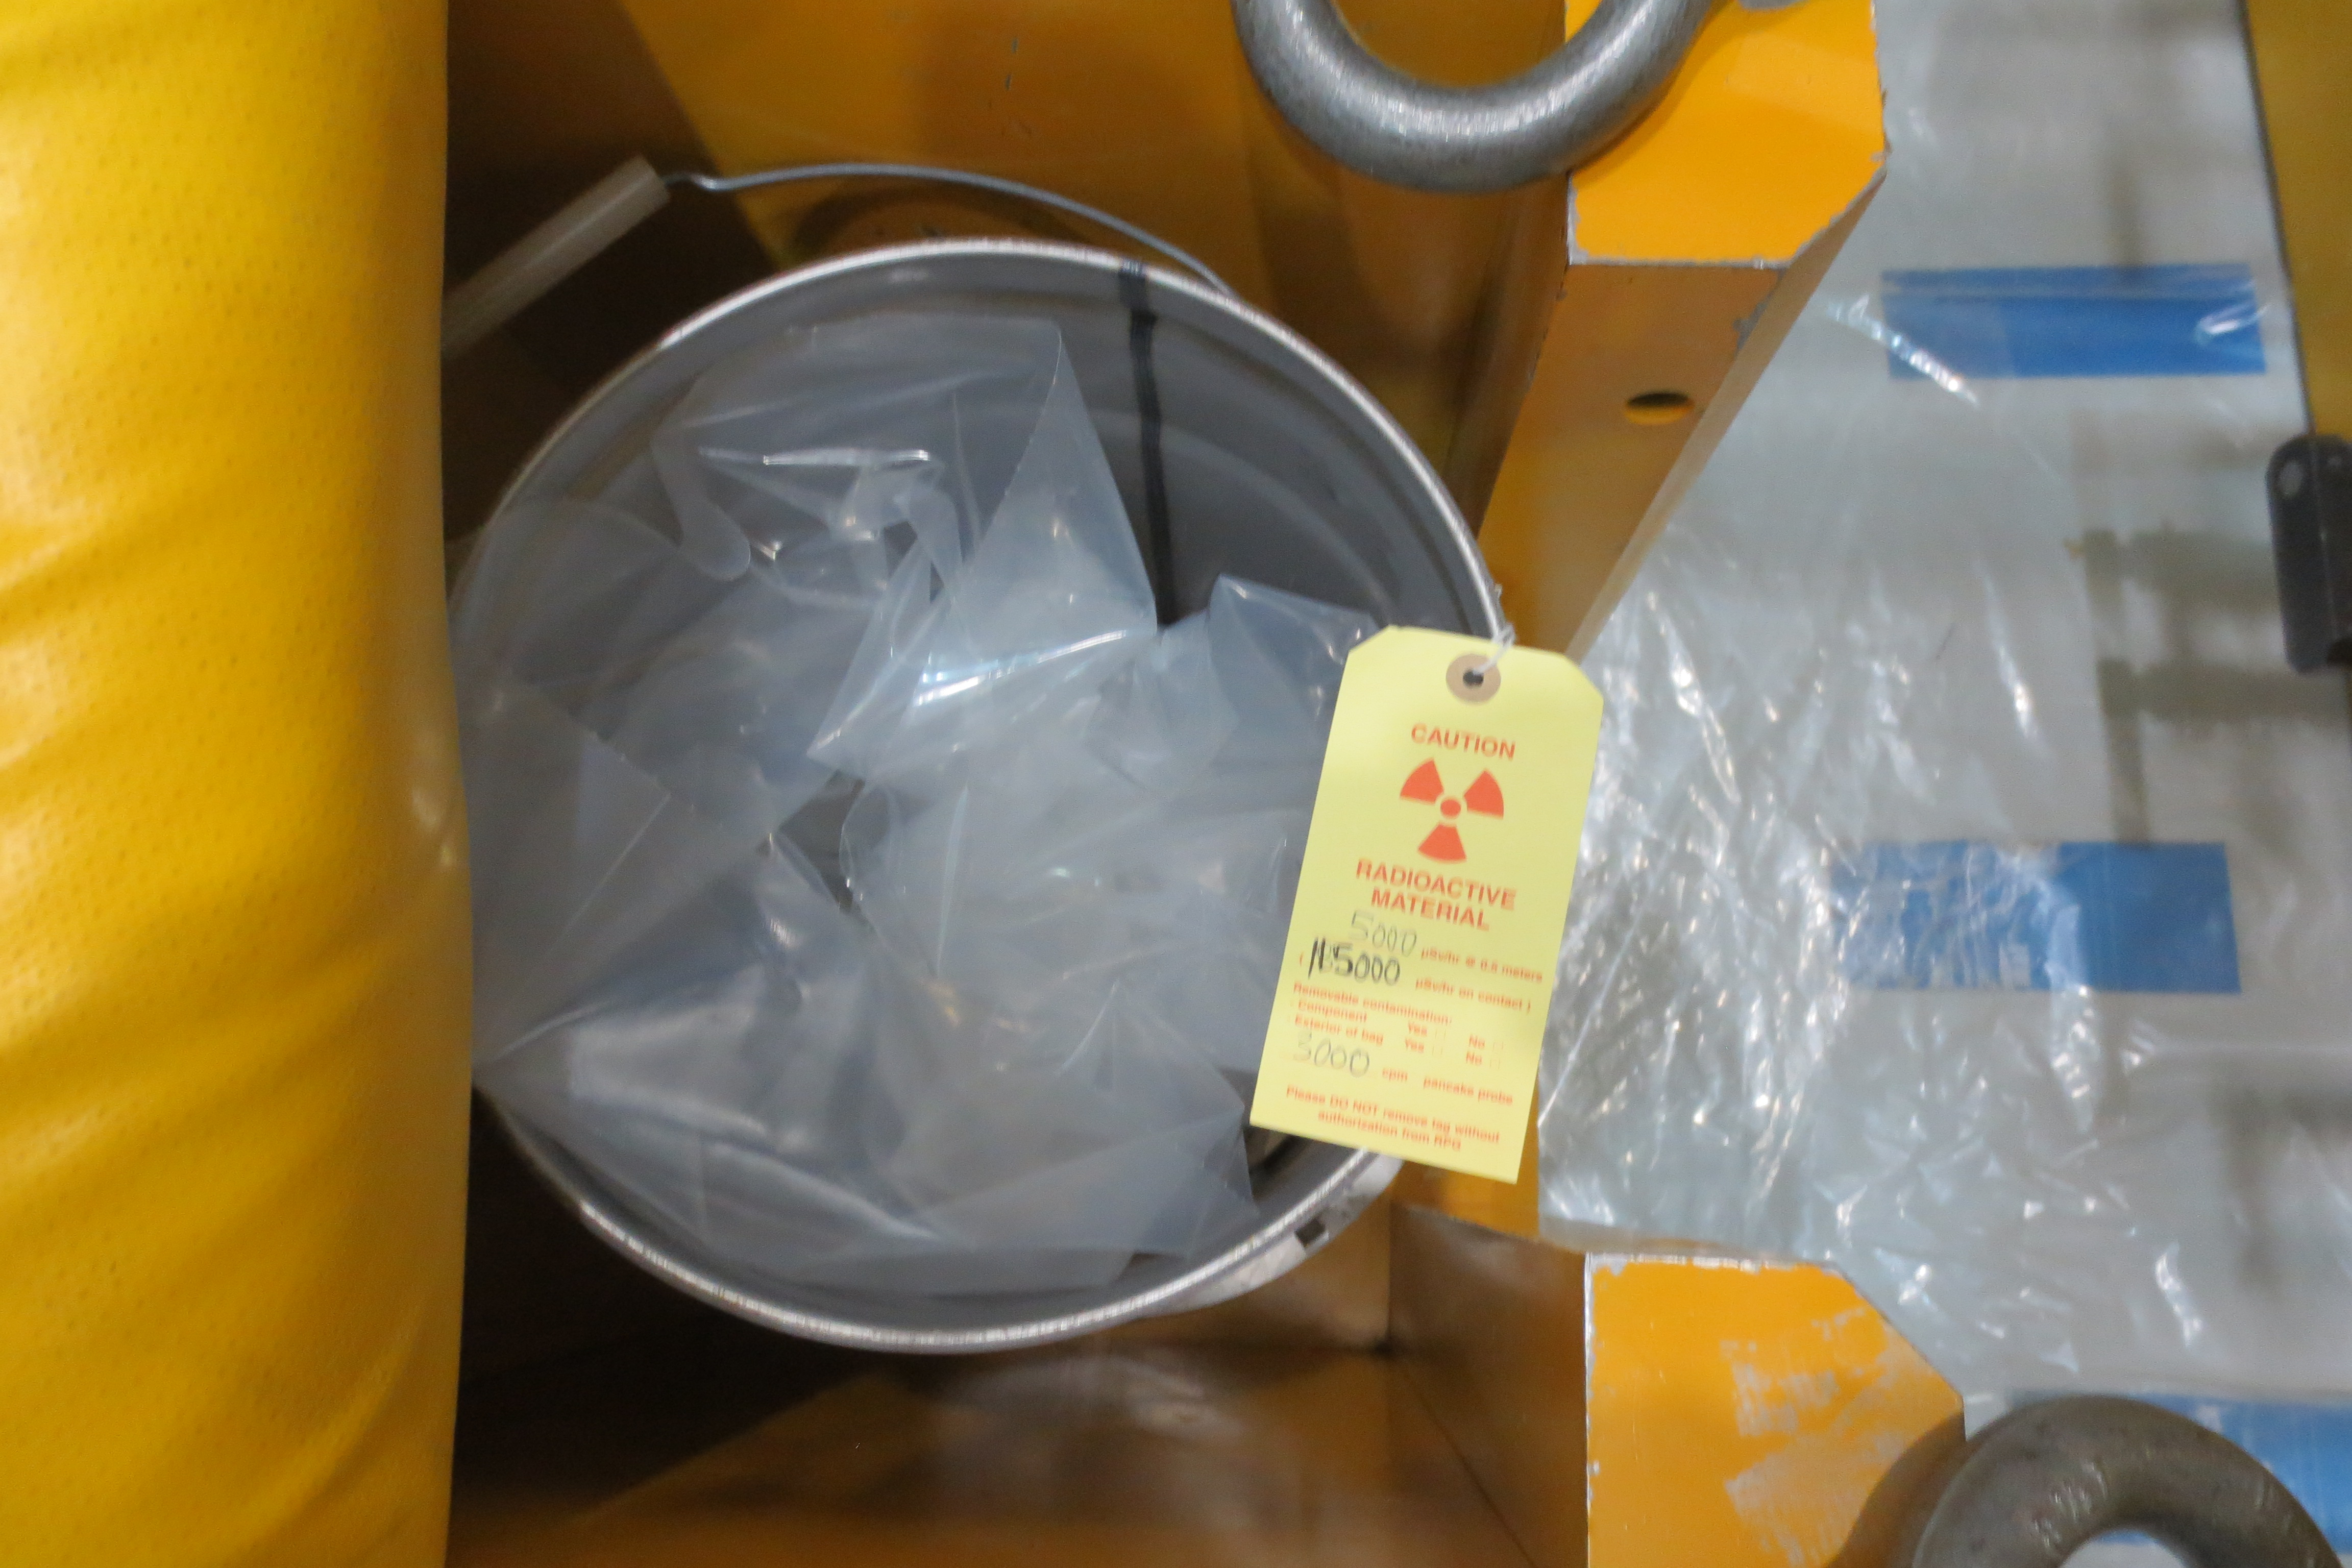
1) Vaccumed top and around clamp. Disconnected clamp from flanges and removed from beam line. Currently bagged and stored in metal pail next to target pit area. Clamp is 500 µSv @ 1/2 m.
  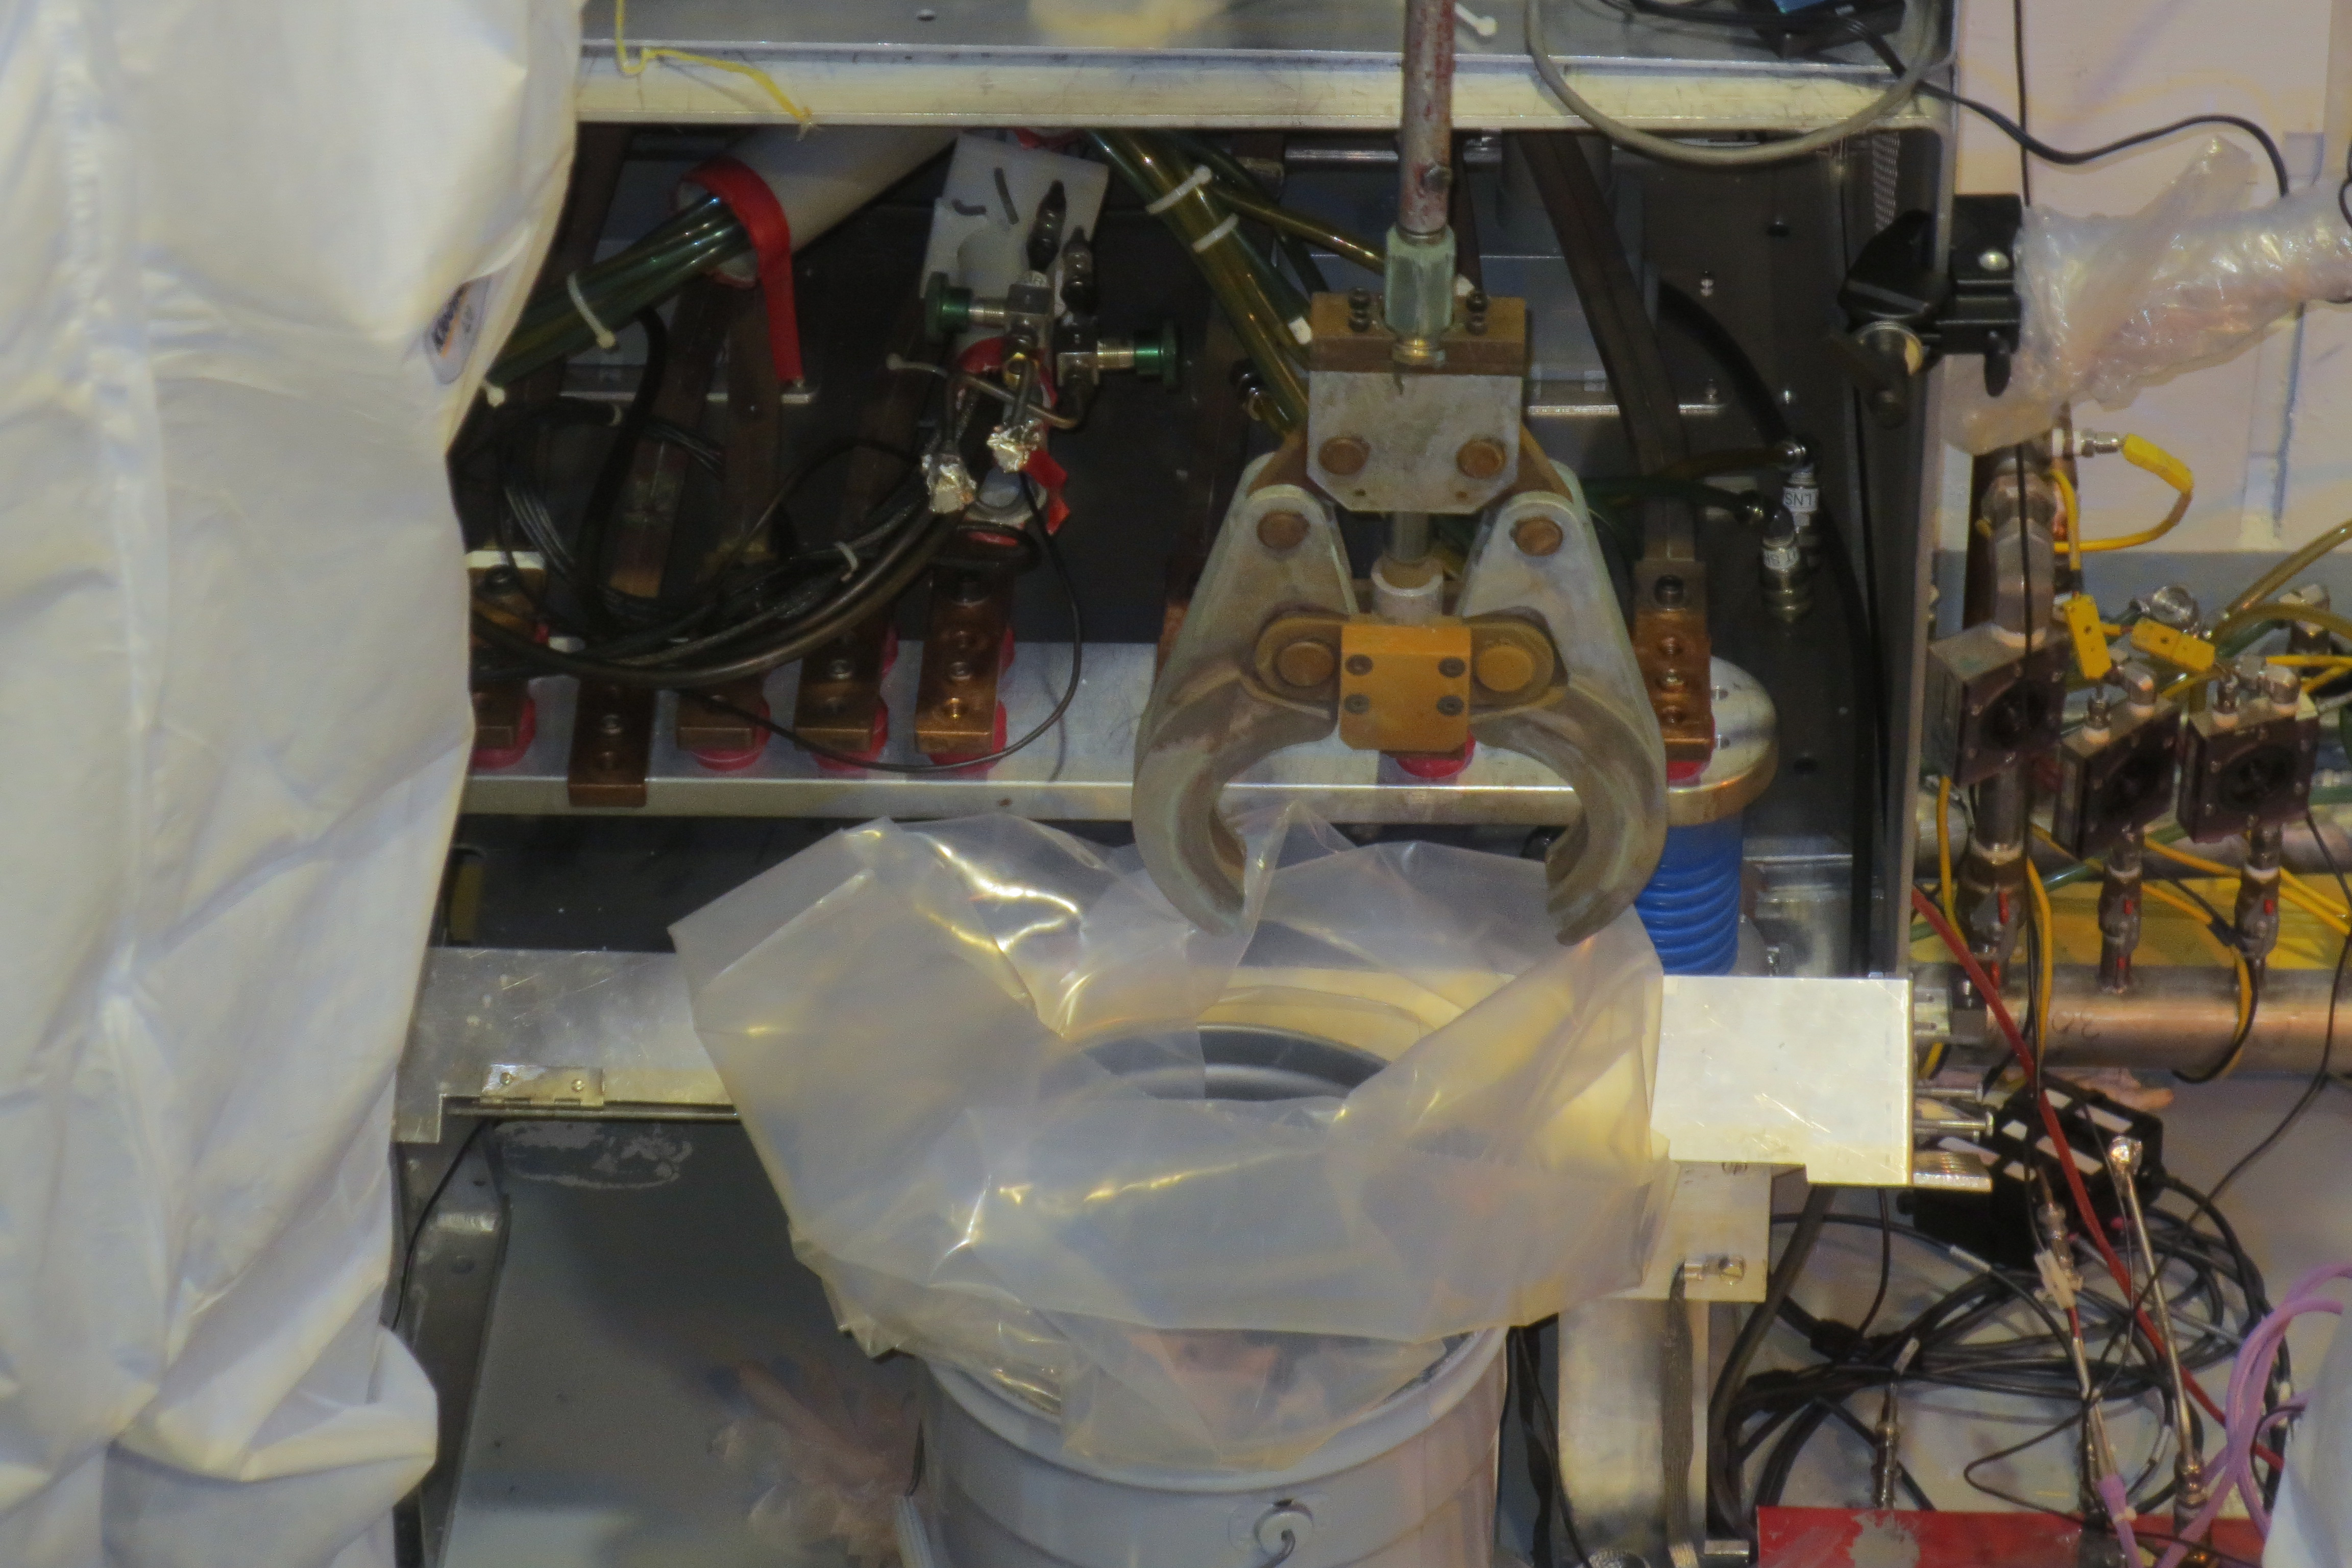 
2) Removed 2A3 window from beam line. Pried apart joint from top of target station using pole tool. Window is 95 mSv o.c. 5000 µSv @ 1/2 m. Currently stored in a metal shield & covered with lead blanket infront of spent target vault.
   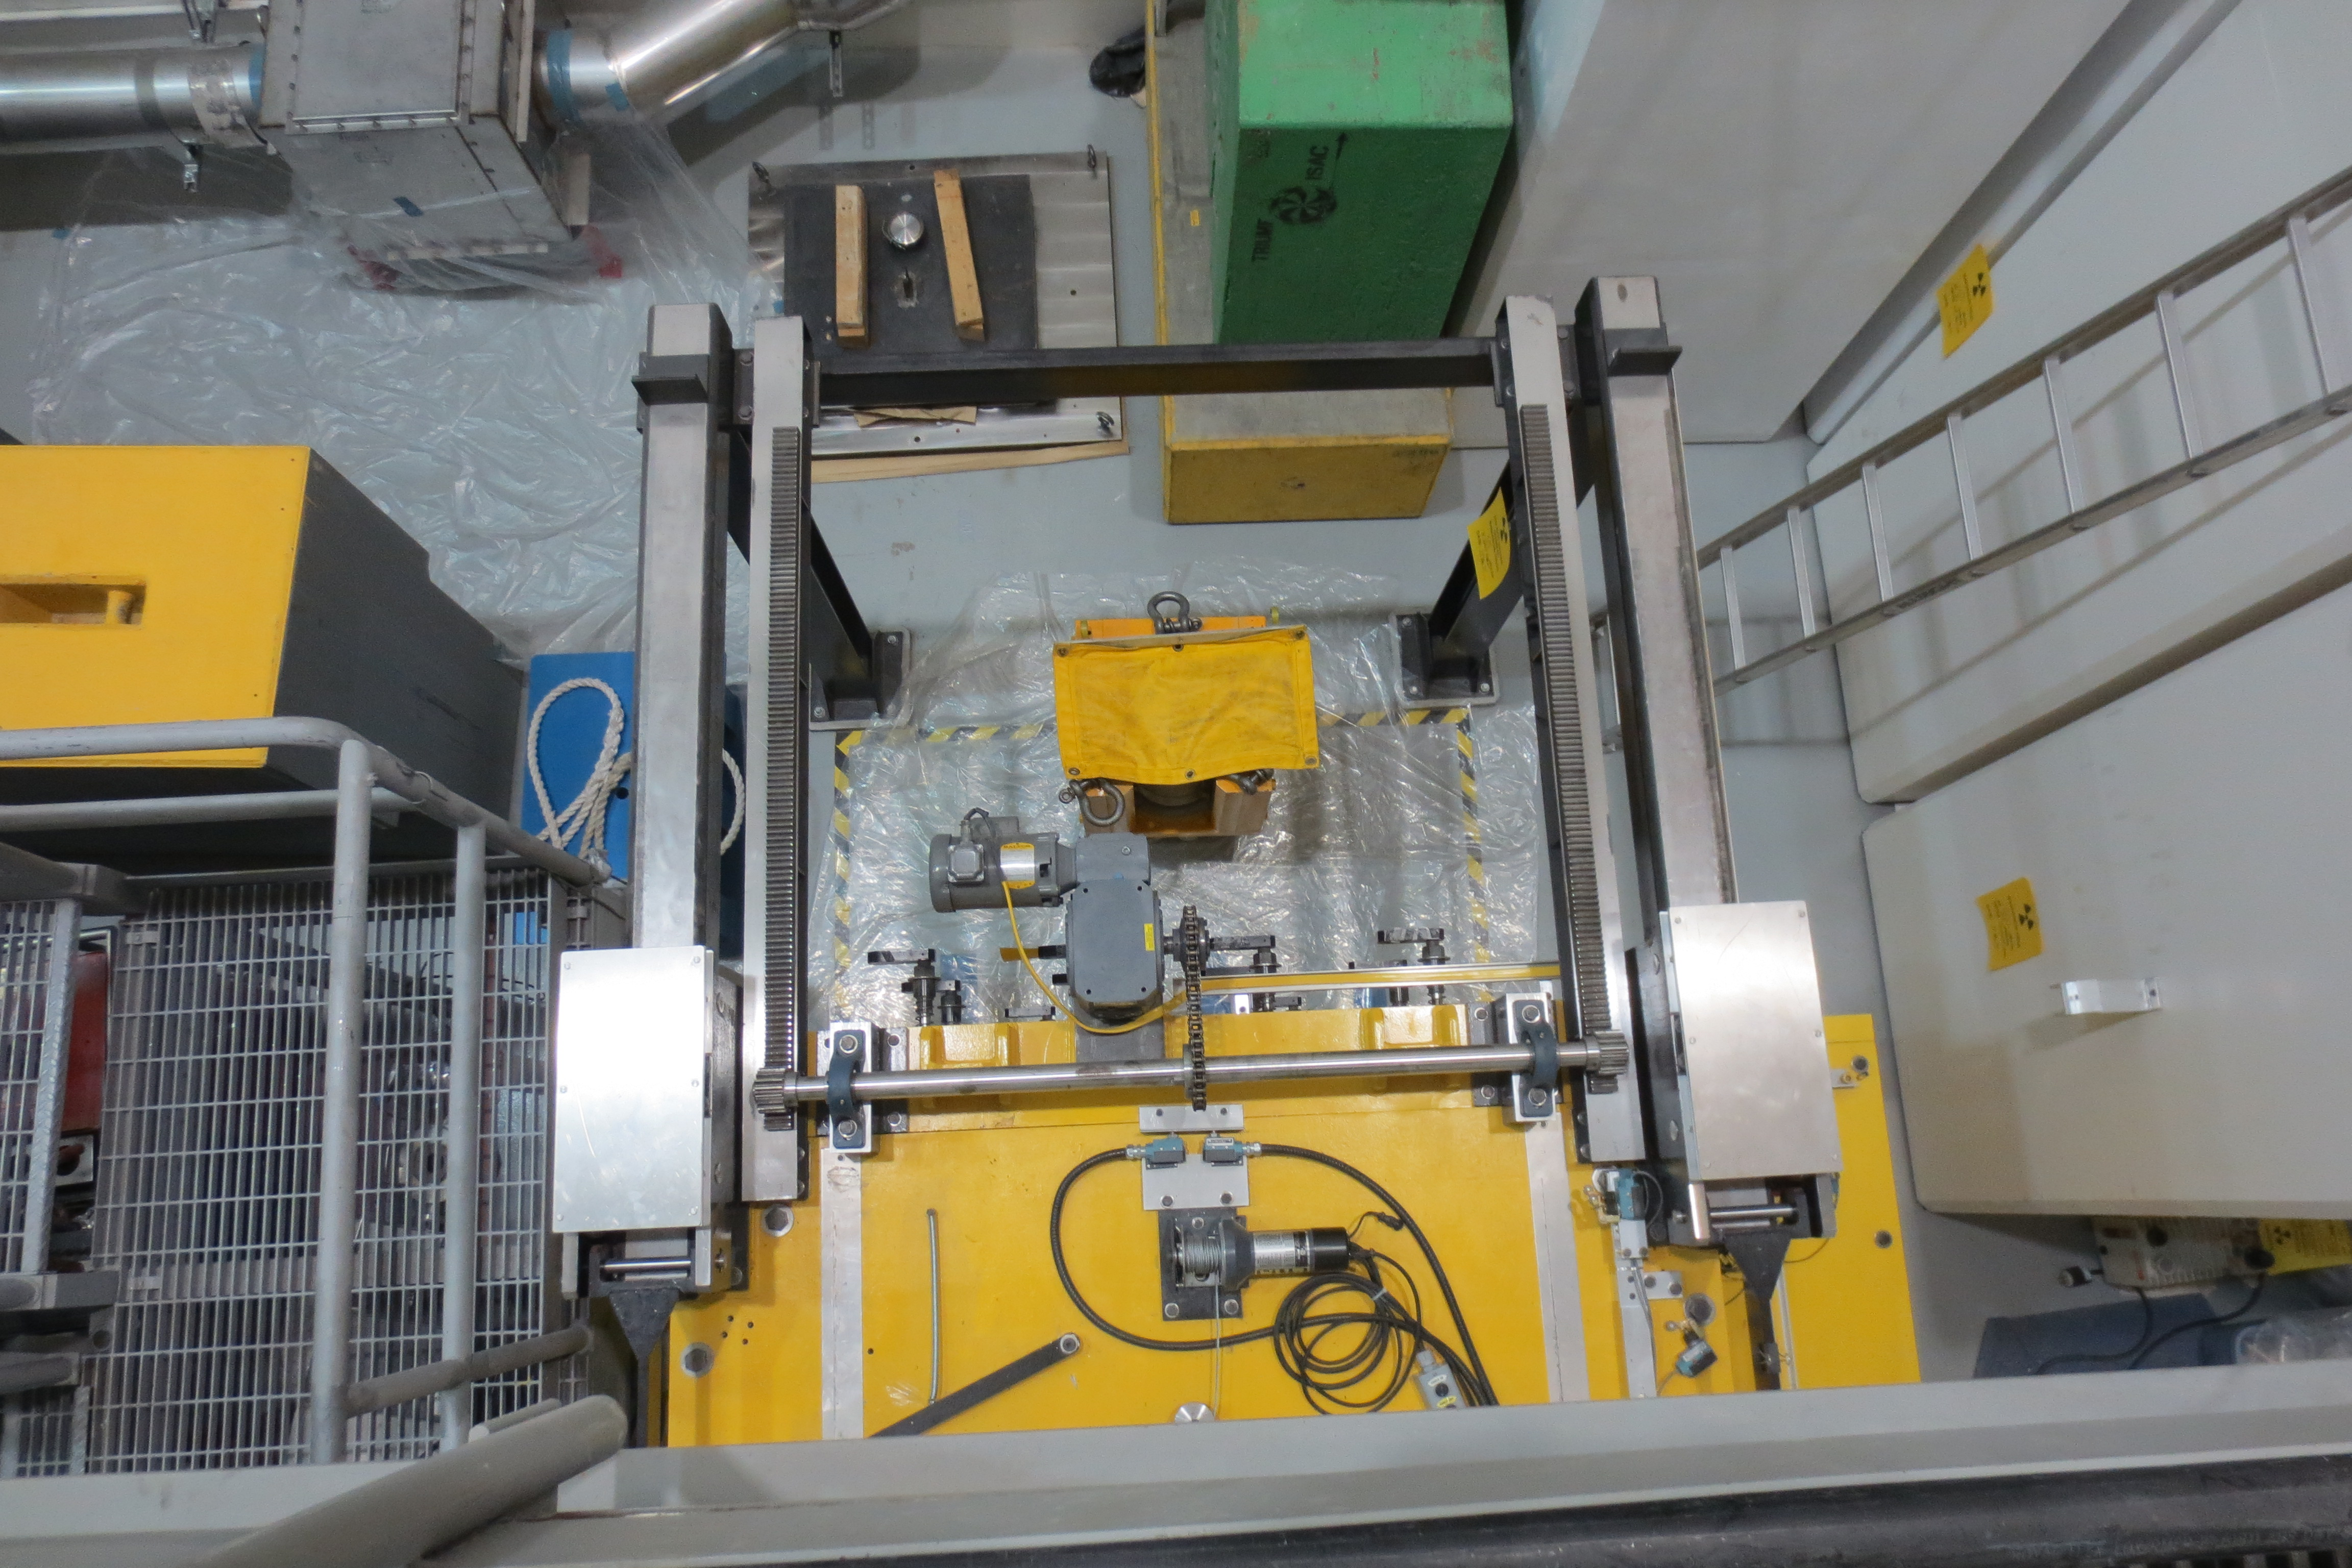
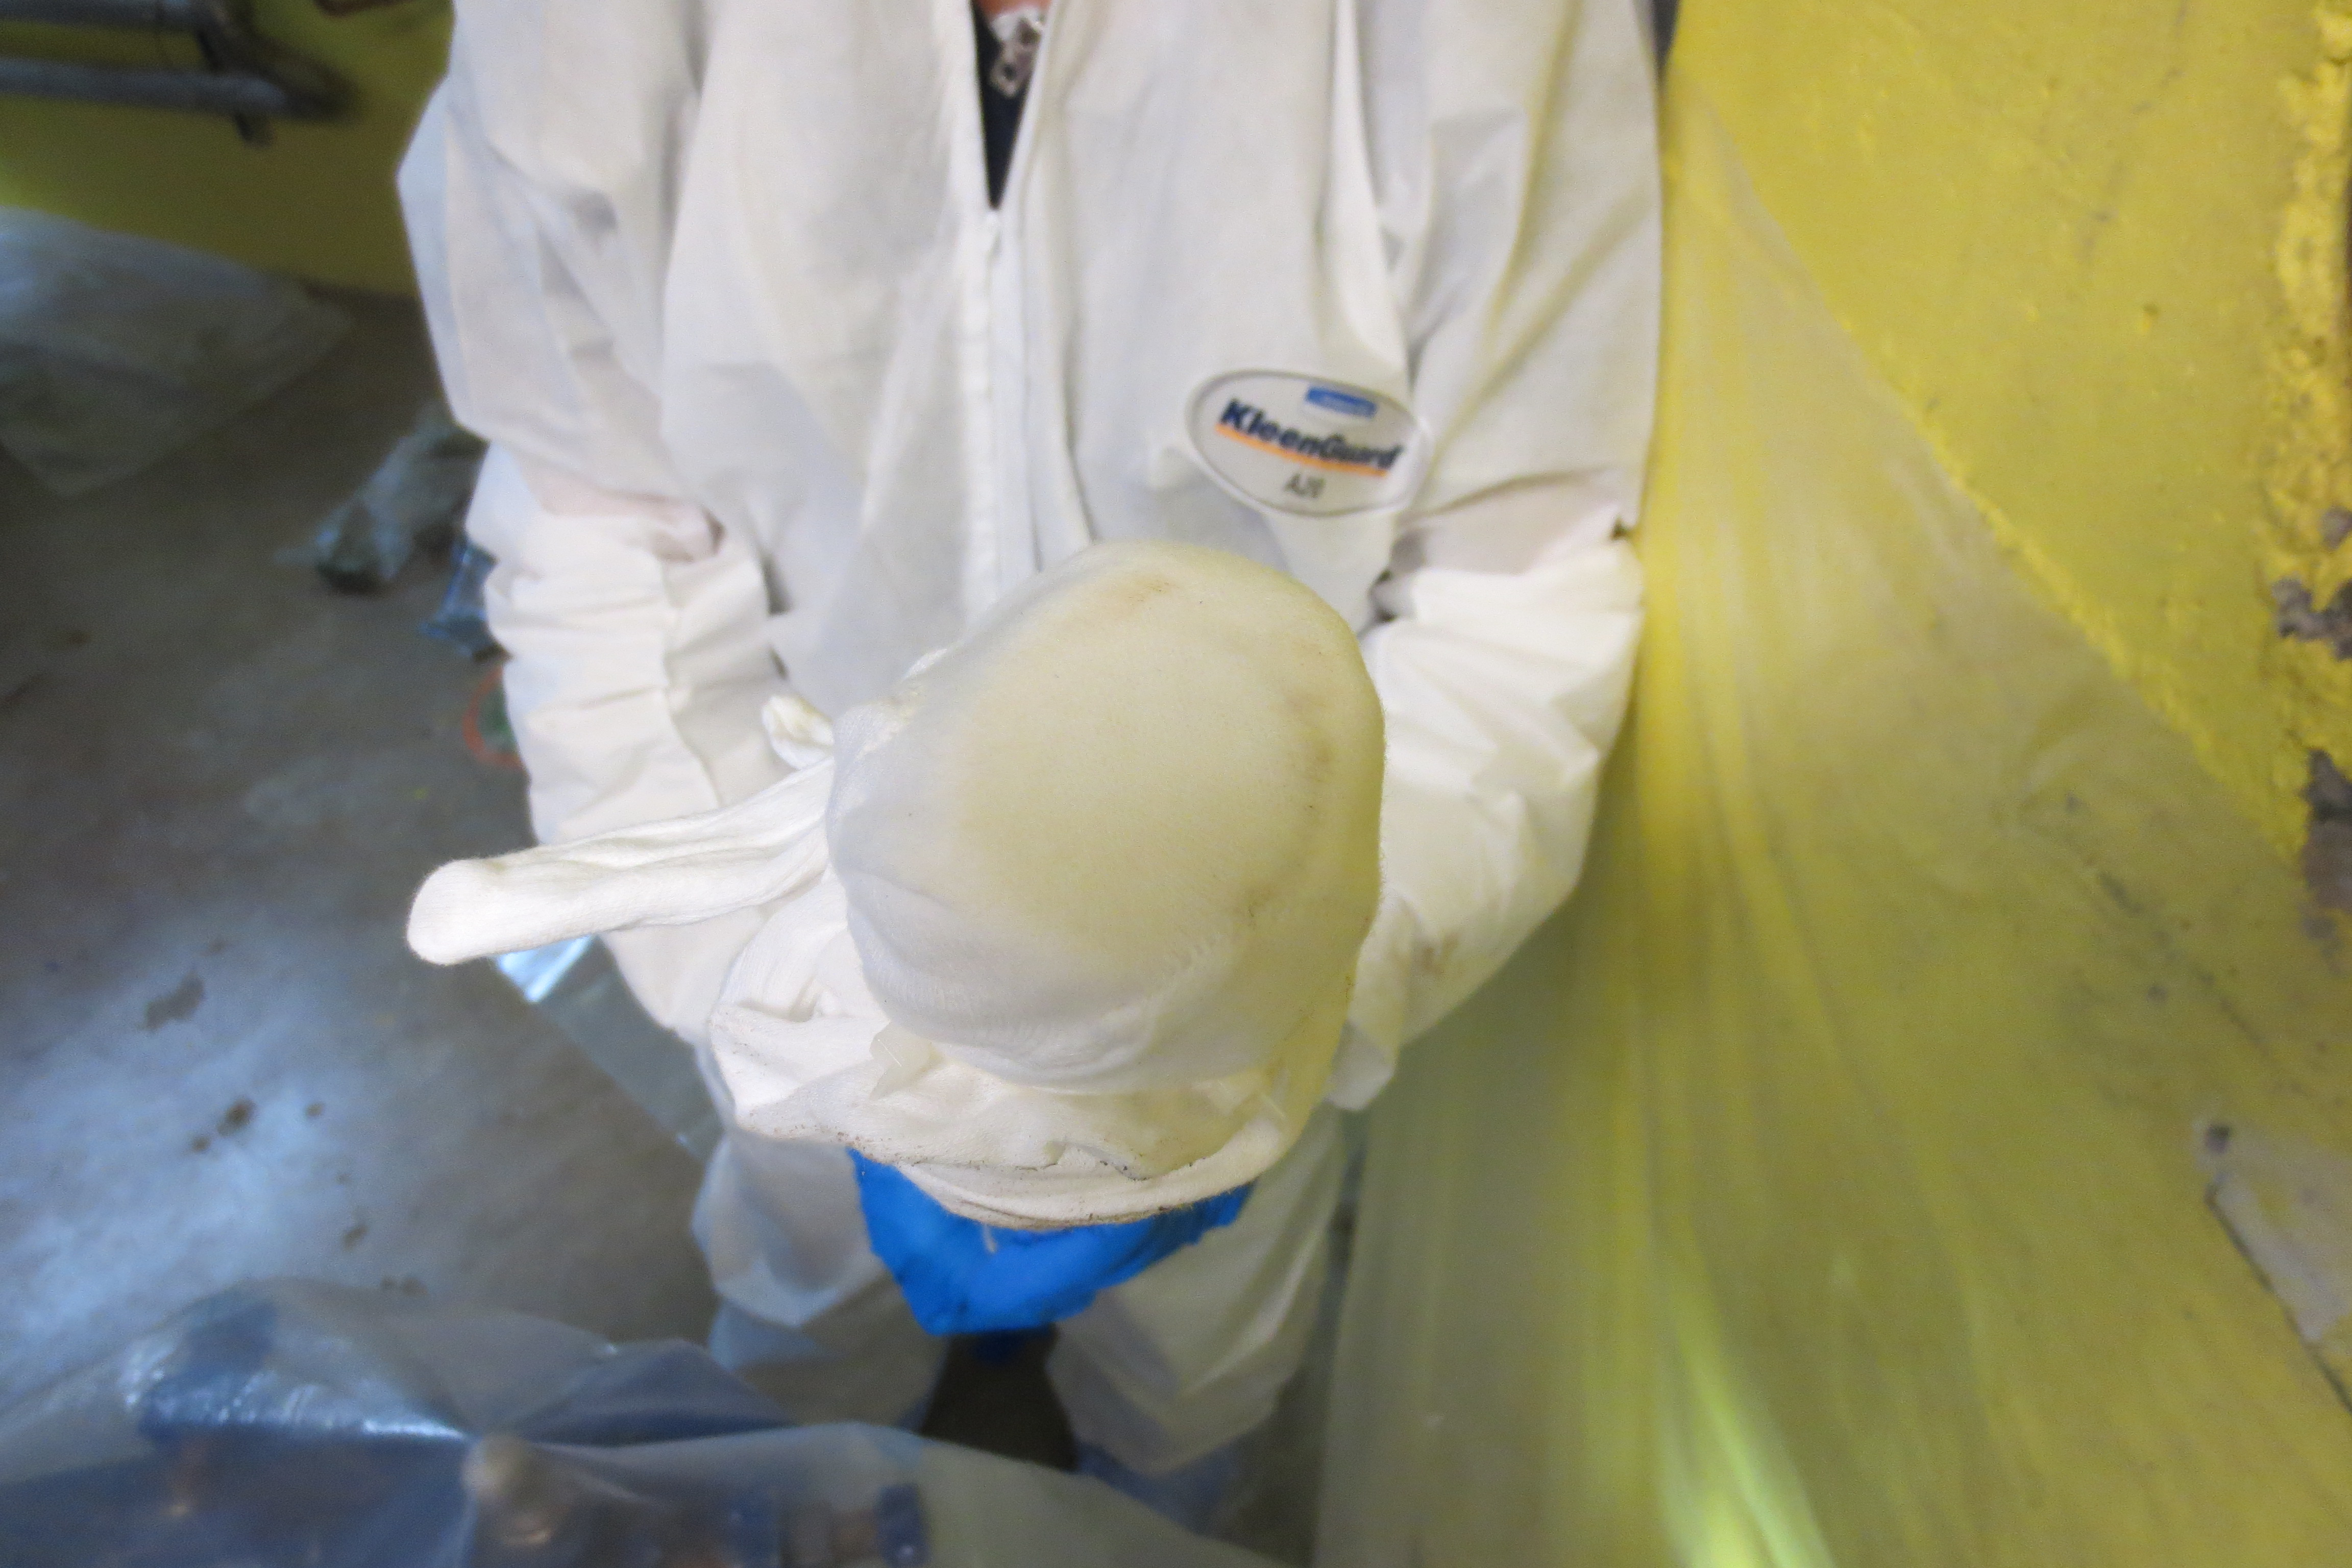
3) Did preliminary clean of tank side flange with cotton glove. See videos in RH group folder. A mark still remains on flange.
4) Installed dust cover over tank flange.
5) Removed old leaking beam tube + support from wall penetration. Currently stored in 2A tunnel, both pieces are bagged. 500 µSv @1/2m, 12000 µSv o.c. Took 2 vials/samples of the deposits inside the plastic piping surrounding the beam tube supports. Material appears to be crystalline and moist.
|
|
628
|
Friday, March 21, 2014, 16:49 |
Keith C Ng | ITE | Repair | | | 2a3 window - tank flange inspection |
Today:
1) Cleaned flange with methanol and cotton glove, appears to be clean.
2) Installed new beam tube and cradle into wall penetration, cradle was setup same as previous cradle (which is now removed). On advancing into position, the flange on the flexible bellows appears to get stuck on the spigot of the fixed tank flange. Removed and measured slot, is undersize (.373-.374), will re-machine slot for spigot.
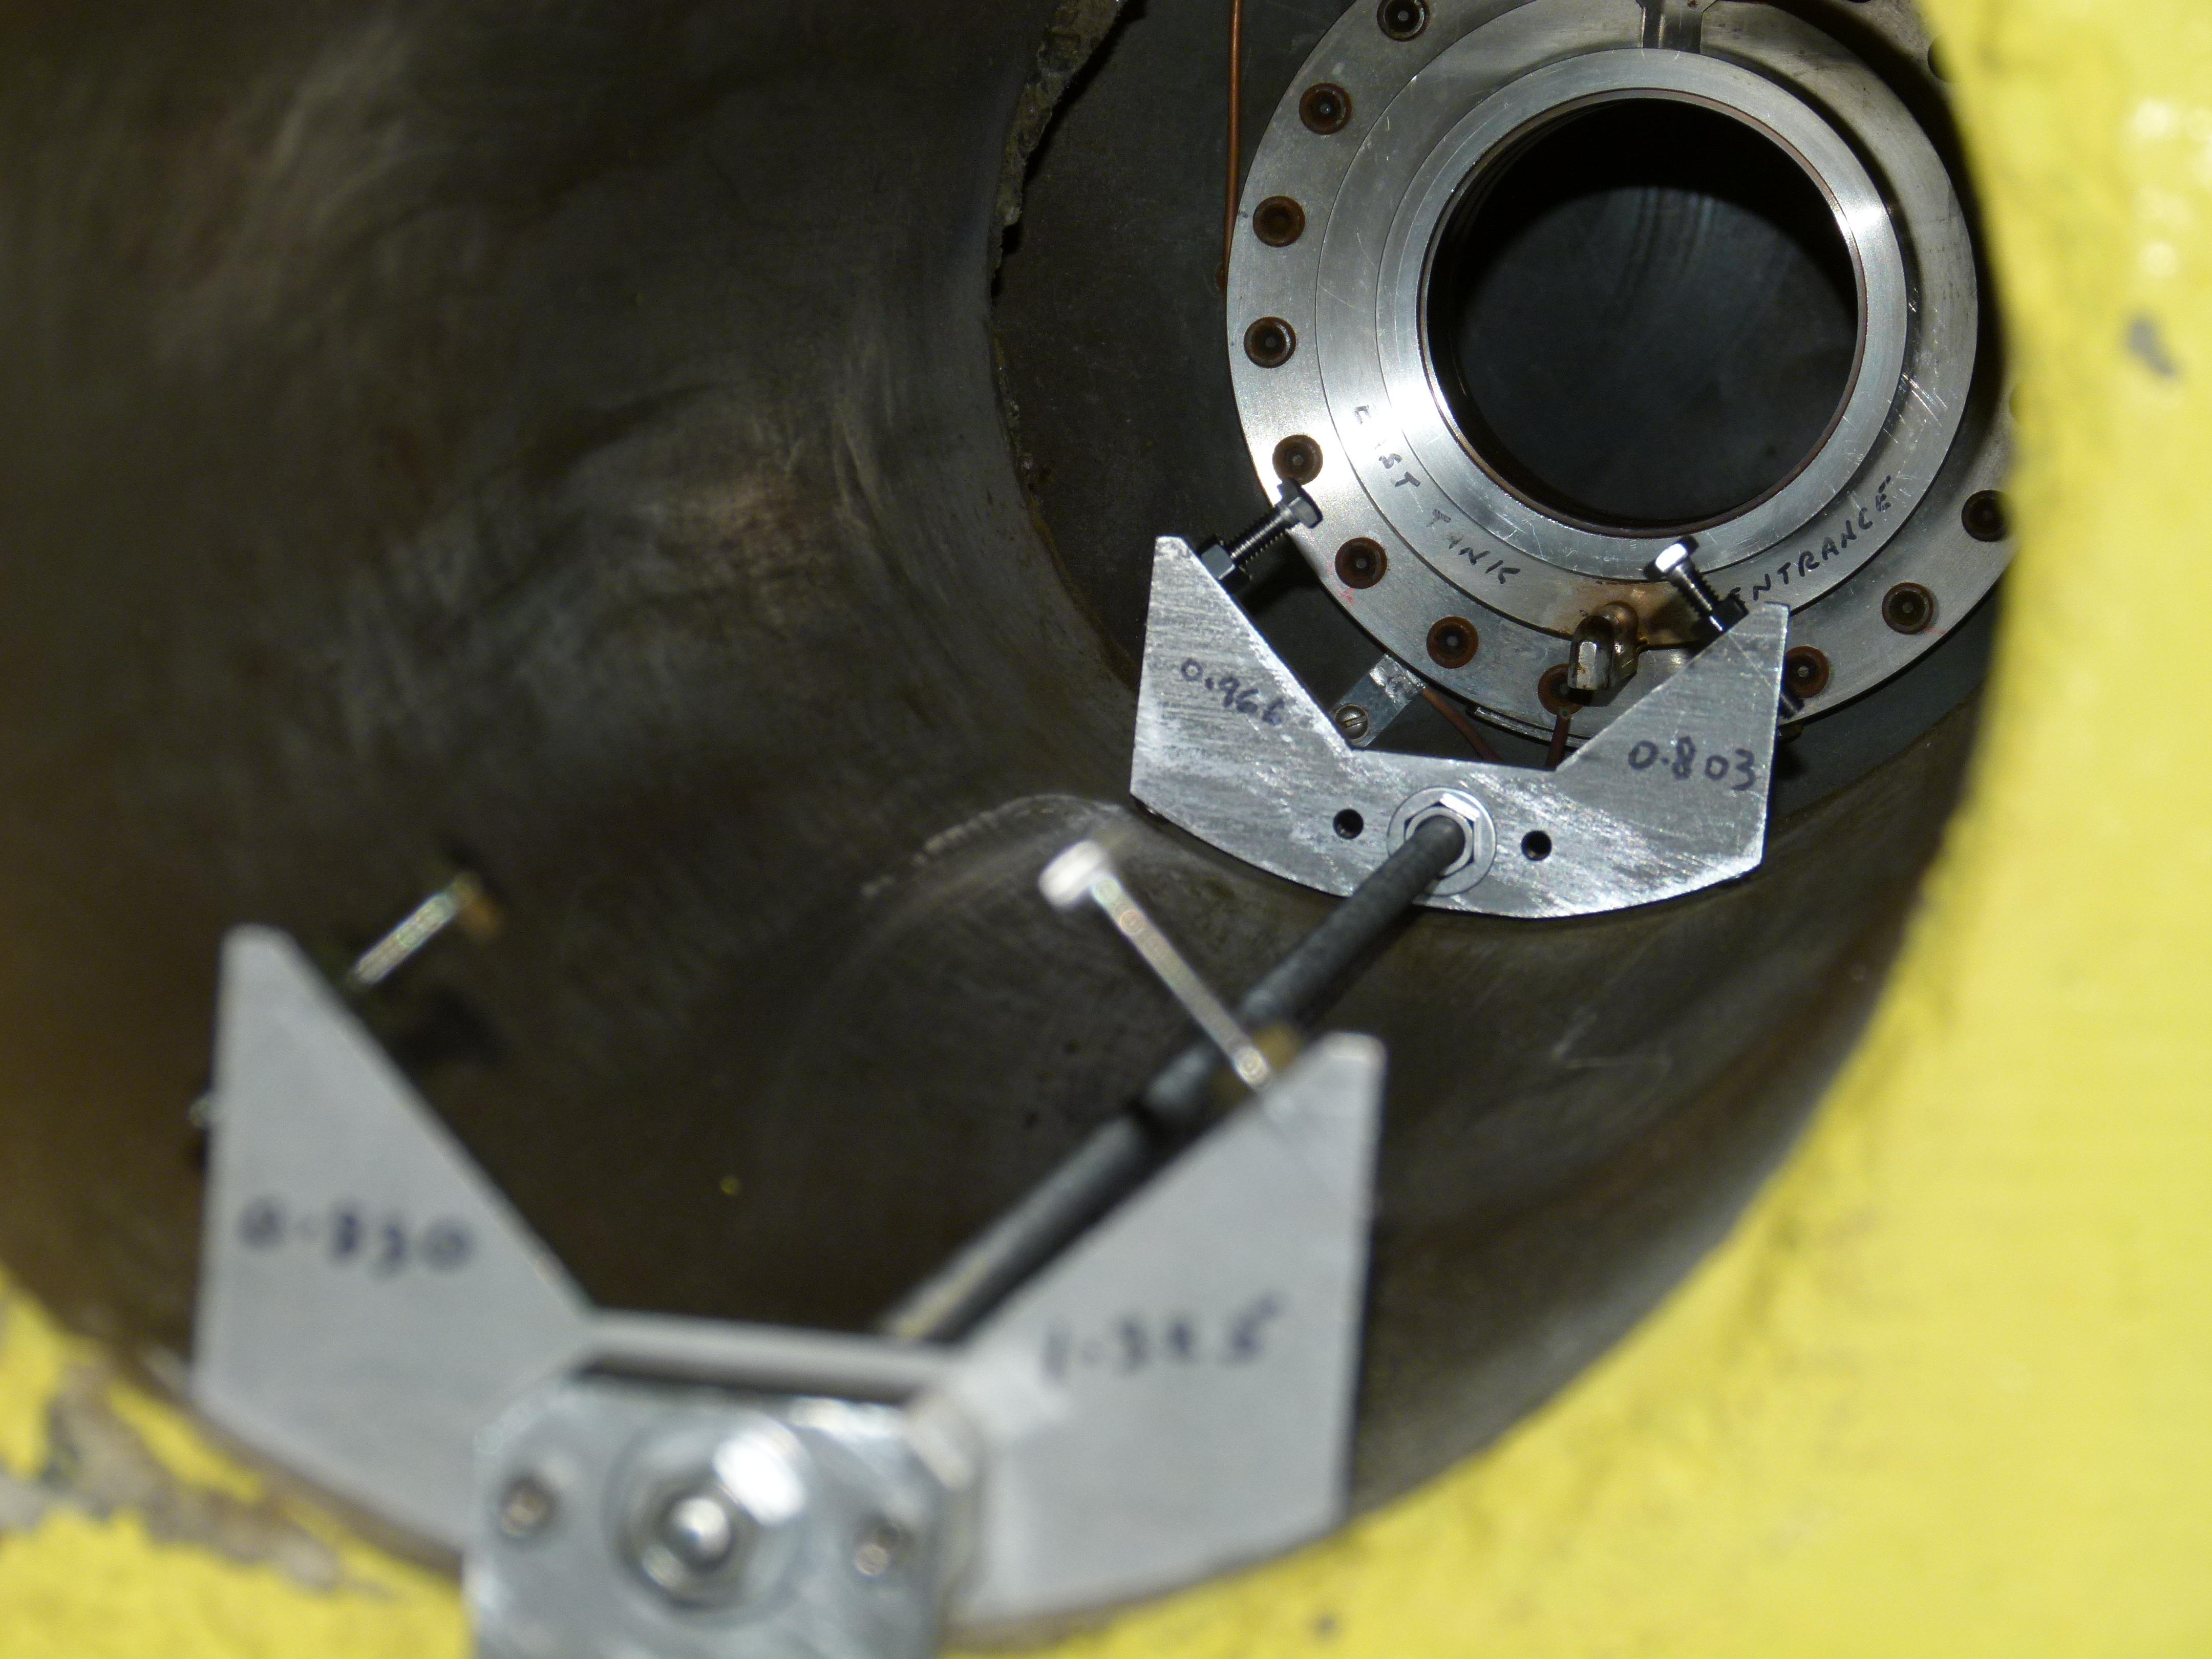 
3) On visual inspection, ITE tank flange appears to be warped in a location consistent with the clamping area of the window clamp. Further investigation is required.

|
|
638
|
Friday, April 04, 2014, 14:59 |
Keith C Ng | ITE | Maintenance | | | measurement of new beam tube section |
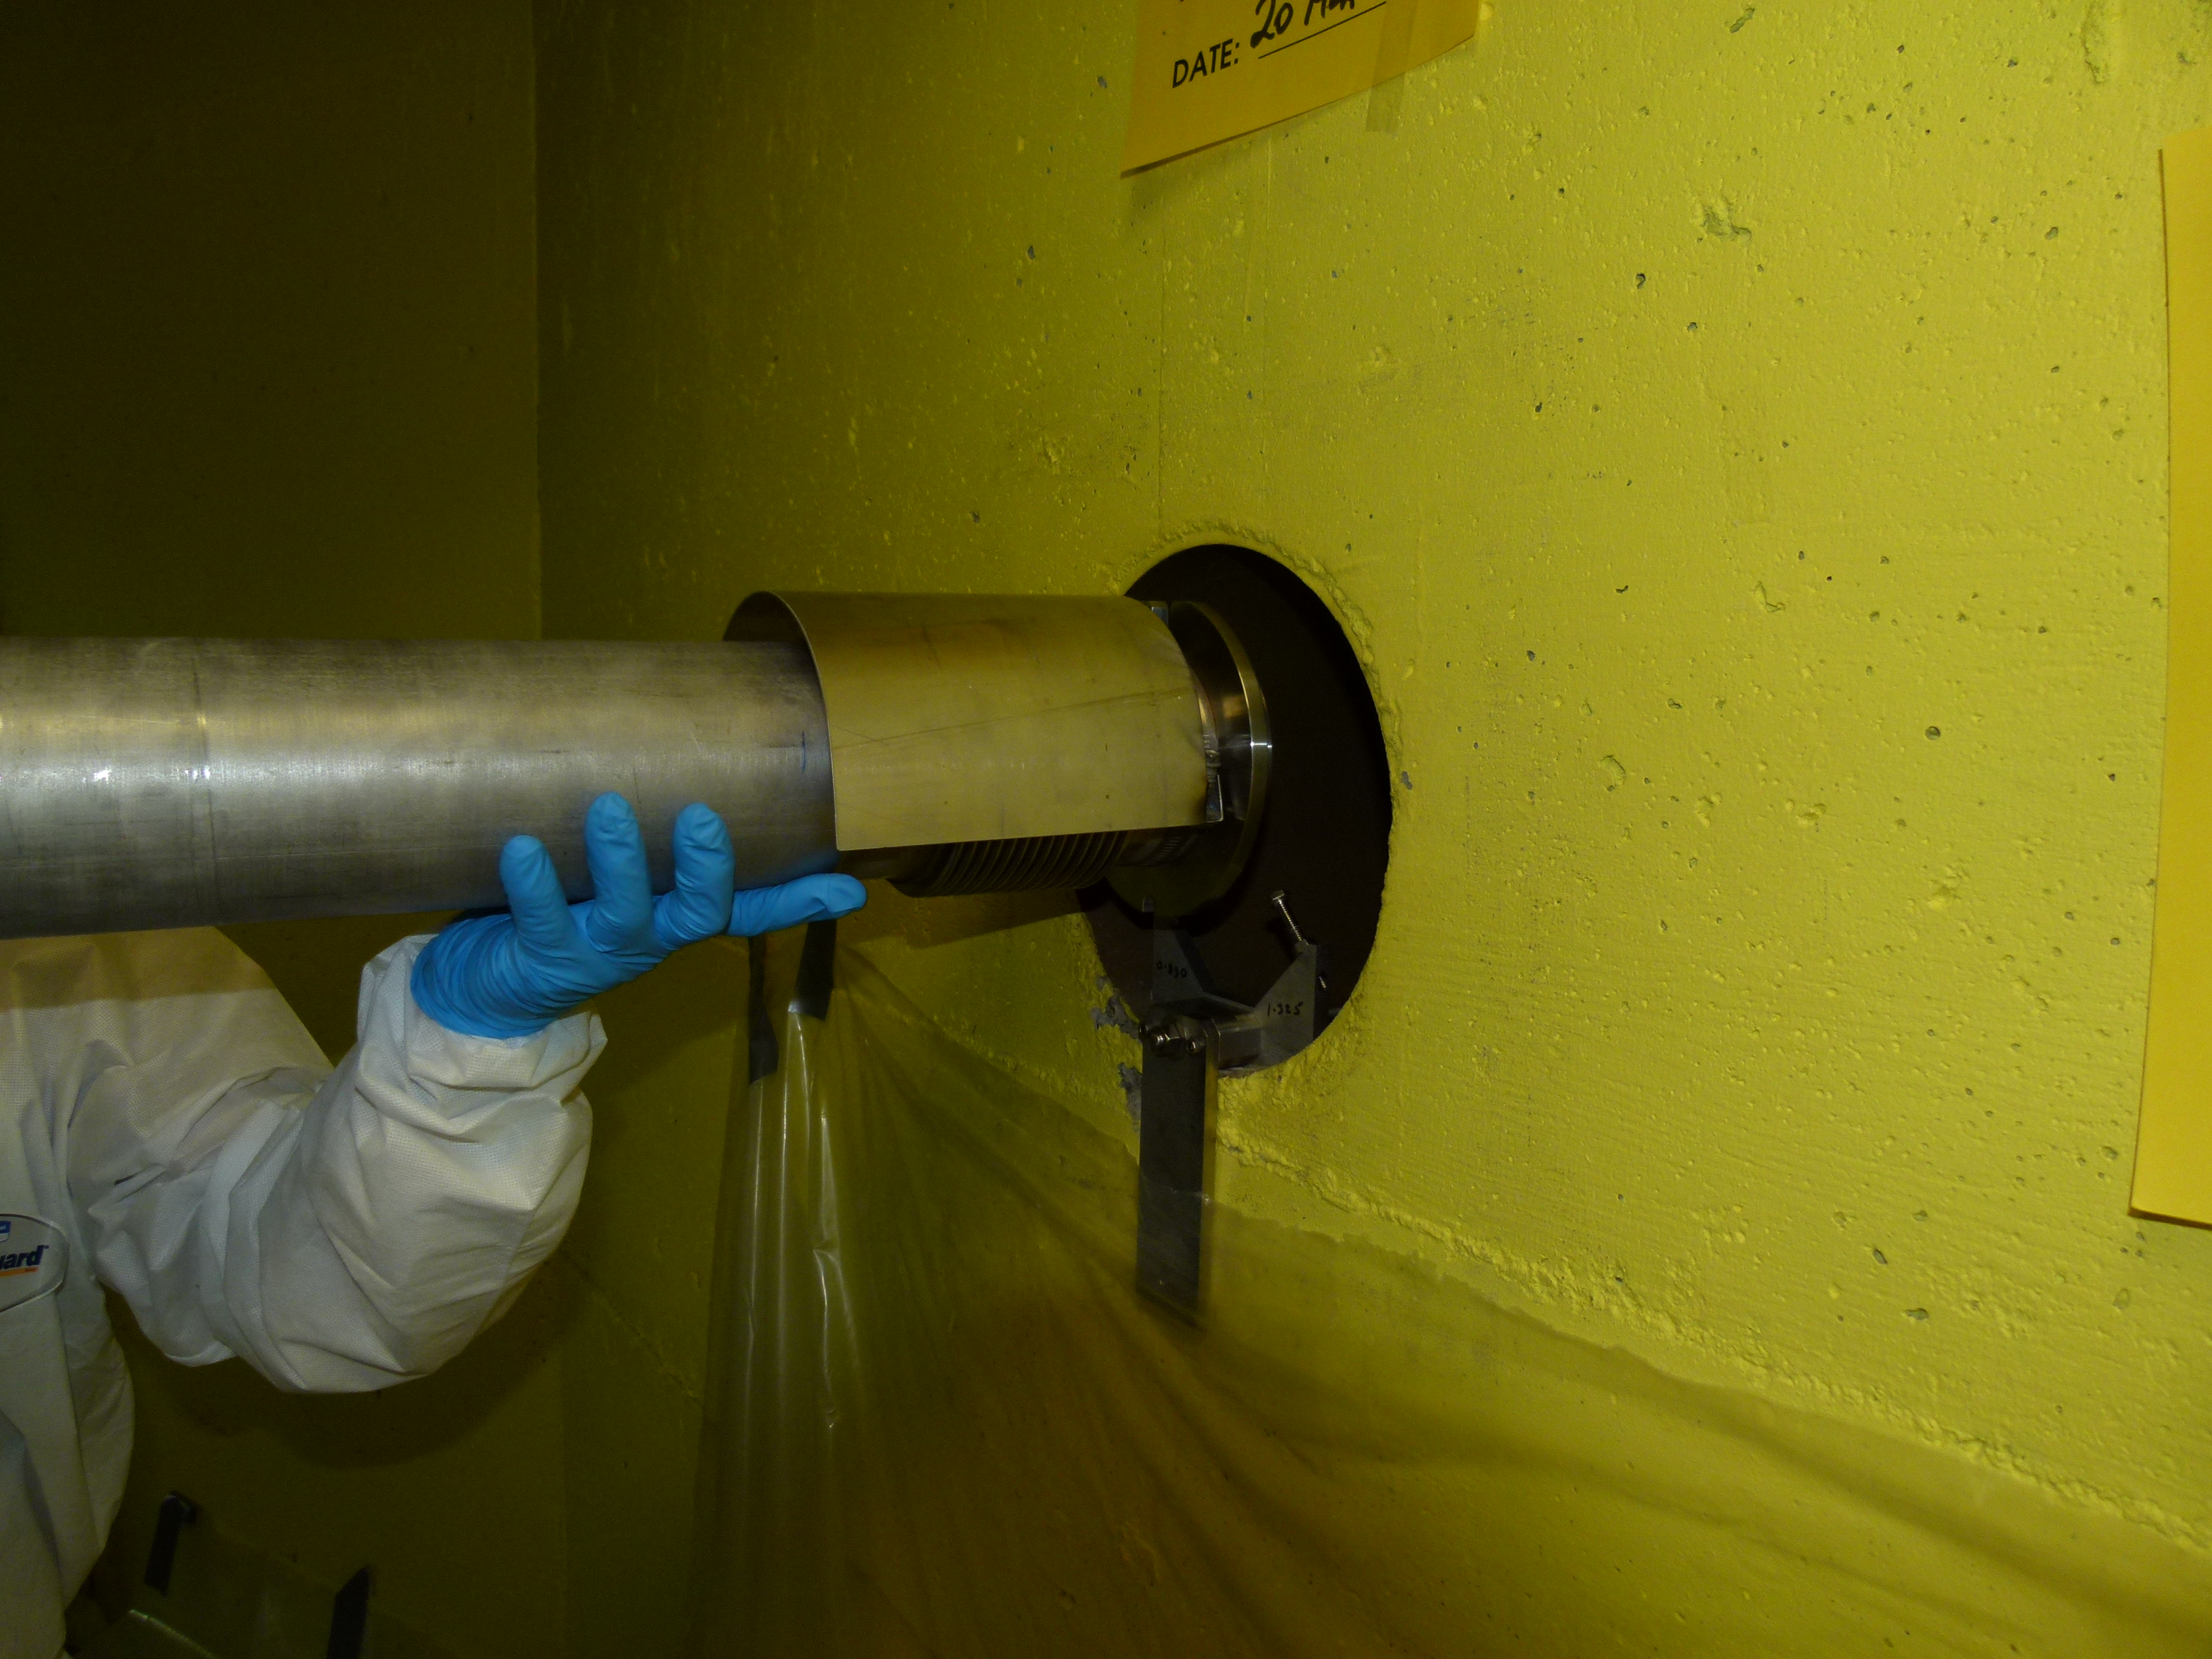
R. Kuramoto and A. Laxdal measured the distance from the 2A tunnel to the tank flange of ITE. The new fabricated beam pipe with bellows was used to gauge the distance to the tank flange; The flange face of the beam tube was butted up to the tank flange and the beam tube was marked at the plane of the wall. A metal rod was used to gauge the distance to the tank face using the same method.
From the inside of the tunnel wall:
- To tank flange: 45 5/16"
- To ITE vacuum tank face: 49"
See attached PDF. |
| Attachment 1: wall_to_flange_length.pdf
|

|
|
647
|
Friday, April 11, 2014, 18:17 |
Keith C Ng | ITE | Repair | | | 2a3 window - install |
Today:
1) Installed new cradle and shortened beam pipe section in wall penetration.
- Removed tank dust cover from flange and cleaned
- Held flange faces together from 2A tunnel side to check alignment, slightly biased to the East axially and a small gap present in the top when resting
2) Prepared new 2A window
- Connected preswaged (1/2 turn) swagelok nuts to the existing copper lines in the target hall, 1/4 turn from finger tight, 3/4 turns total
- Leak checked cooling lines with pressurized air at 75psi and snoop, no leaks were found at the joint
- Grooves were cleaned and helicoflex delta seals were installed with vacuum grease used in the periphery to hold ring in window, applied at 6 points every 60deg
3) Window installation
- Lowered window into position by cooling lines
- Window located into tank flange first then slid beam pipe towards it, capturing the window with seals
- Lowered clamp into place in hole
4) Clamp installation
- Lowered clamp into access hole and started closing clamp with steel RH drive bar
- torqued to 50 ft-lbs collar gap was still ~8"
- Increased torque to 60 ft-lbs then 70 ft-lbs stopped closing of clamp when the displacement did not change between the stop ring and clamp yoke
- It was decided not to continue to close this clamp, more assessment may be necessary
6) We will attempt to pump on the seal in its current configuration, tools have been removed. |
|
652
|
Wednesday, April 16, 2014, 17:08 |
Keith C Ng | ITE | Repair | | | 2a3 window - He leak check |
Helium leak checked 2a3 window after installing using remote line:
- There was a leak found between the target and entrance module at the target pit, rate of 9E-6 atm-cc/sec.
- One test performed with the remote helium line to the window. There was a response but the leak detector was located above the window access channel, drift cannot be ruled out.
- 3 more tests performed with vacuum group, with leak detector relocated farther away from ITE and isolated with plastic. 2 tests using remote line had no response. One test done with a wand through 2a3 wall penetration had a response of 3.2E-9 atm-cc/sec (not using remote line).
Vacuum group (D. Yosifov) comments that due to the much larger leak at the top of the tank he cannot say with confidence the response seen is a leak at the window (due to leak at top) but if there is, a tolerable leak rate. |
|
899
|
Monday, April 27, 2015, 16:12 |
Keith C Ng | South Hot-Cell | Development | TM2 | | Ceramic Standoffs in TM2 source tray steerer assembly |
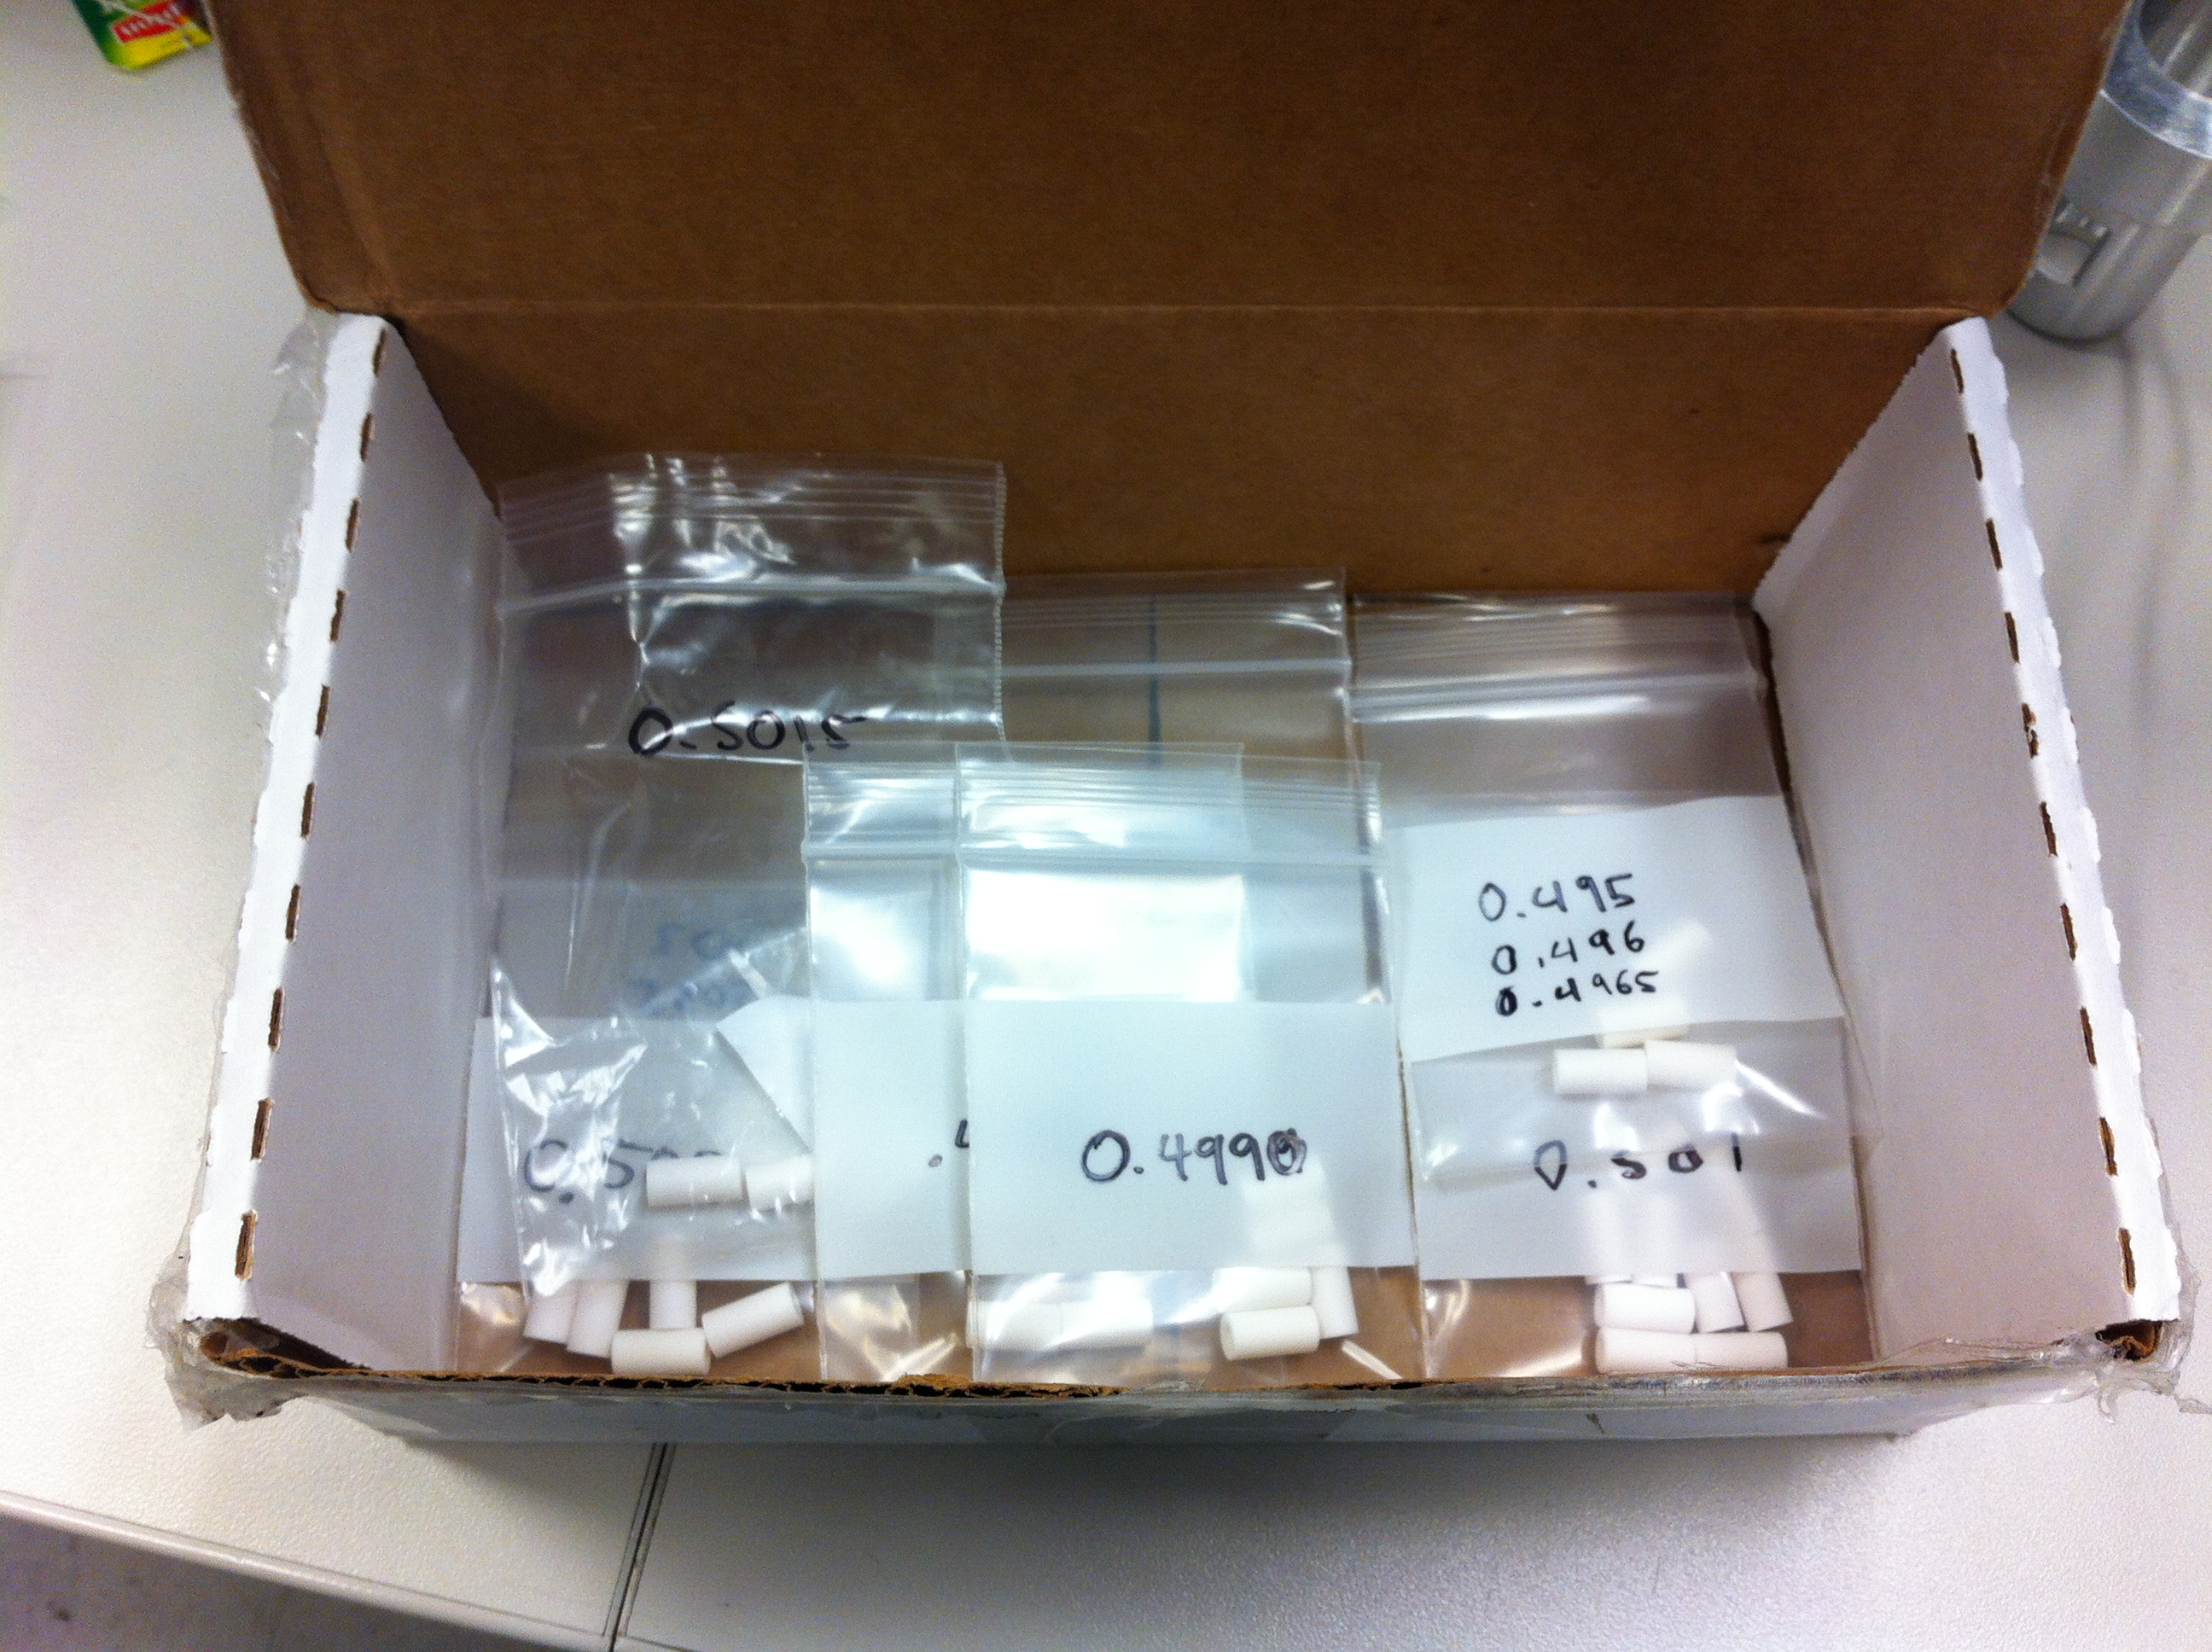
On drawing ITA6008 for the Encole 0.5" ceramic standoffs there is a note to match pairs of ceramics to within +/-0.001". This step was missed on the current build of TM2 source tray (ceramics were not measured).
Measured the lengths of the rest of the ceramic standoffs in inventory and they range from 0.5035" to 0.4950" in length. The ceramics have been sorted by length and grouped into bags.
 |
|
1461
|
Friday, March 24, 2017, 11:12 |
Keith C Ng | Spent Target Vault | Standard Operation | | | 2A window transfer |
Transfered the 2A window from the ISAC Storage Vault to the Cyclotron Vault Tunnel Storage area. RPG storage form attached. |
| Attachment 1: 2017mar24_vault_tunnel_storage_form(1).pdf
|
-0.png "2017mar24_vault_tunnel_storage_form(1).pdf")
|
|
1462
|
Friday, March 24, 2017, 11:19 |
Keith C Ng | Spent Target Vault | Standard Operation | | 2A3 window | Window now in vault |
| Travis Cave wrote: |
|
The 2A3 window now has a lid, and lift yolk on it and it has been installed in the spent target vault in spot 2A. The lid is a normal unmodified and has no sealant on it.
|
The pail containing window was transferred from the Storage Vault to the Cyclotron Vault Tunnel Storage 2017 Mar 24. It was placed in a brick bunker along the north wall and marked with item #1434. RPG storage form is attached.
Highest field measured at 0.5 m was 3000 uSv/h with an estimate of 4000 uSv/h on contact with the pail. Pail exterior was not contaminated. See attached storage form for details.
|
| Attachment 1: 2017mar24_vault_tunnel_storage_form(1).pdf
|
-0.png "2017mar24_vault_tunnel_storage_form(1).pdf")
|